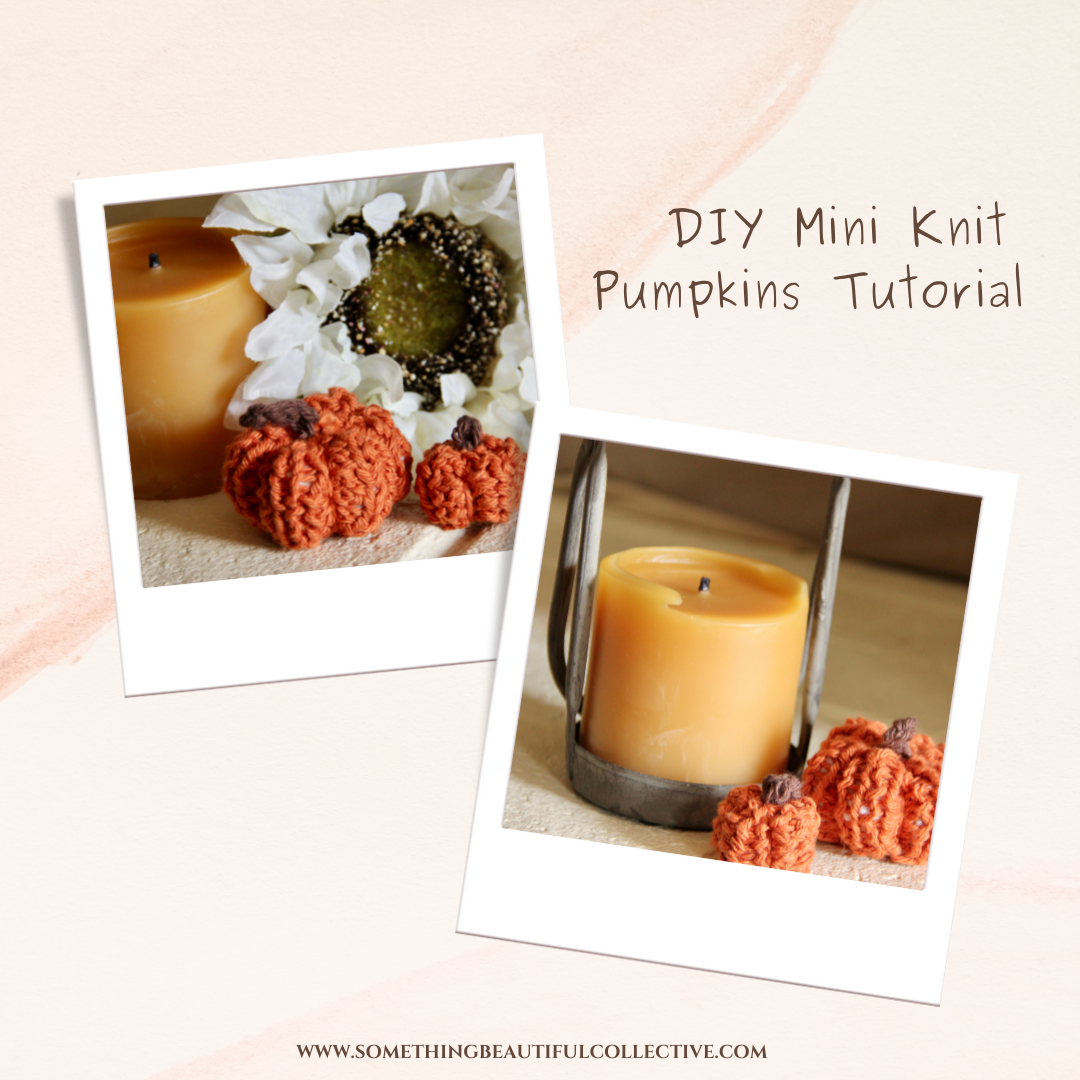
In preparation for the miniature knit pumpkin tutorial I’m planning on posting next month, I thought I would share a basic knitting tutorial for anyone who doesn’t know how to knit or who just needs a refresher course!
This post contains Amazon affiliate links. That means I may receive a small commission if you make a purchase using these links. You do not pay a higher price by clicking my links!
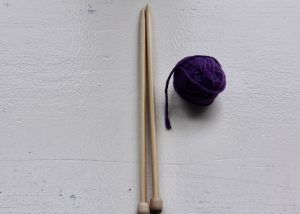
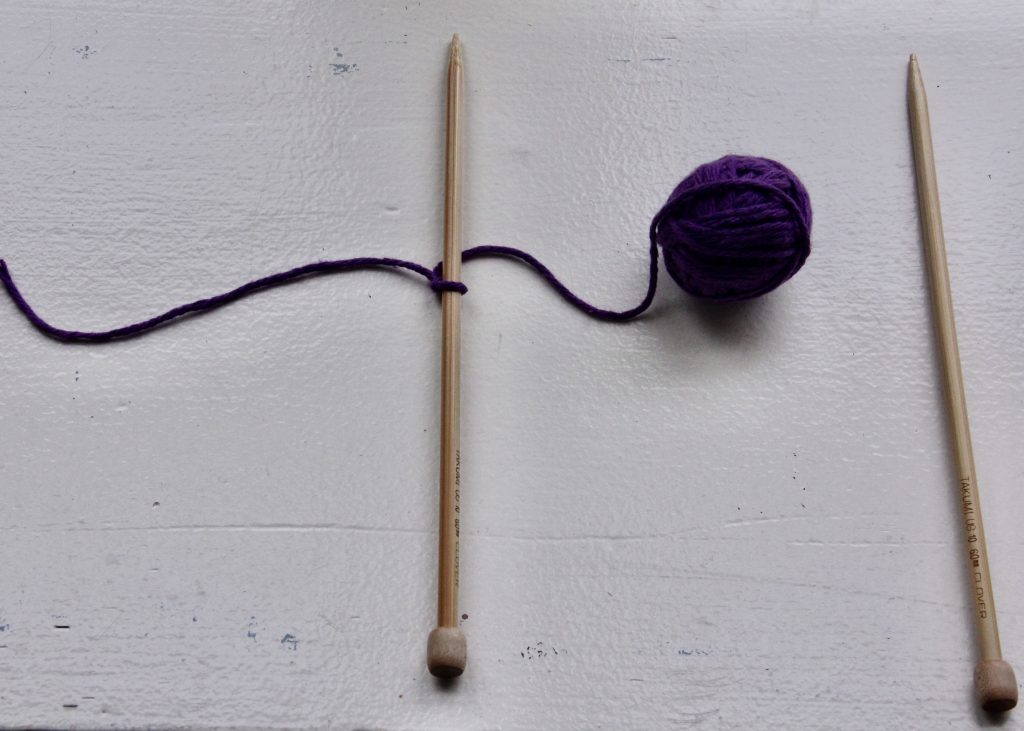
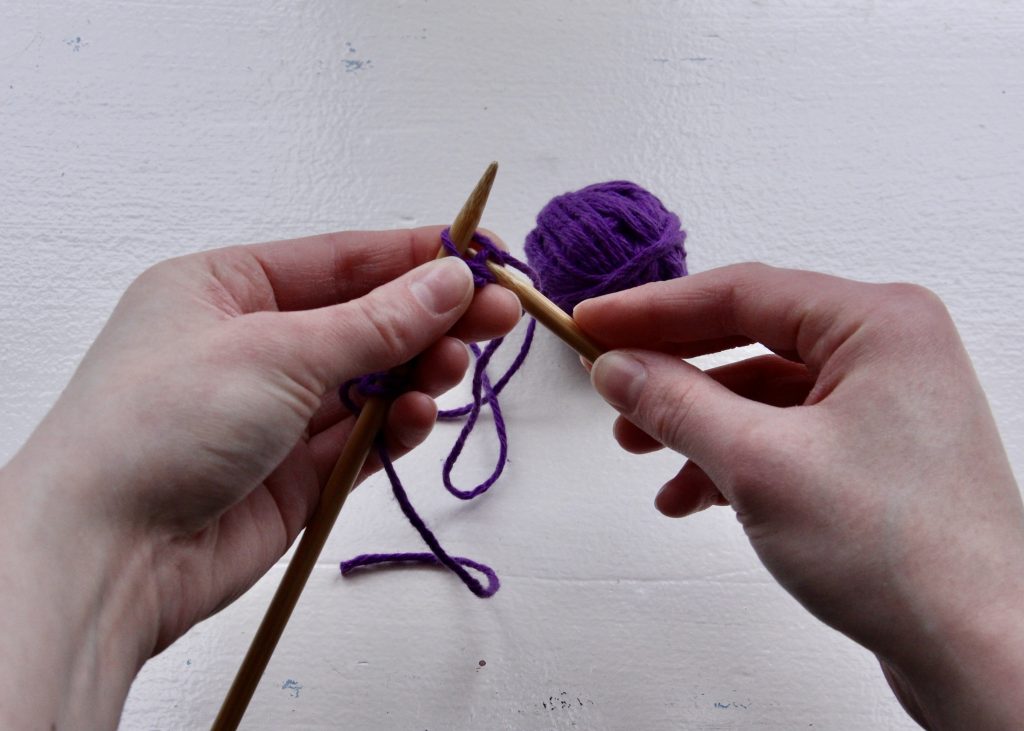
First, you’re going to need a pair of knitting needles and a ball of yarn. I used my favorite needles, my Clover Takumi No. 10’s and a small ball of leftover yarn.
Casting On
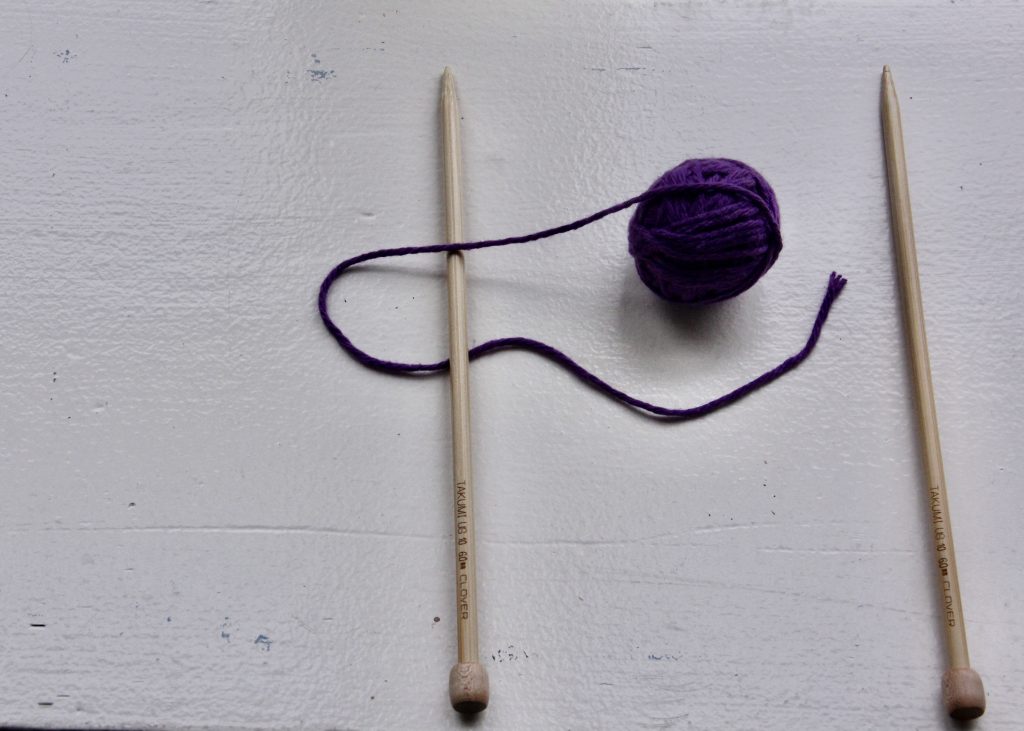
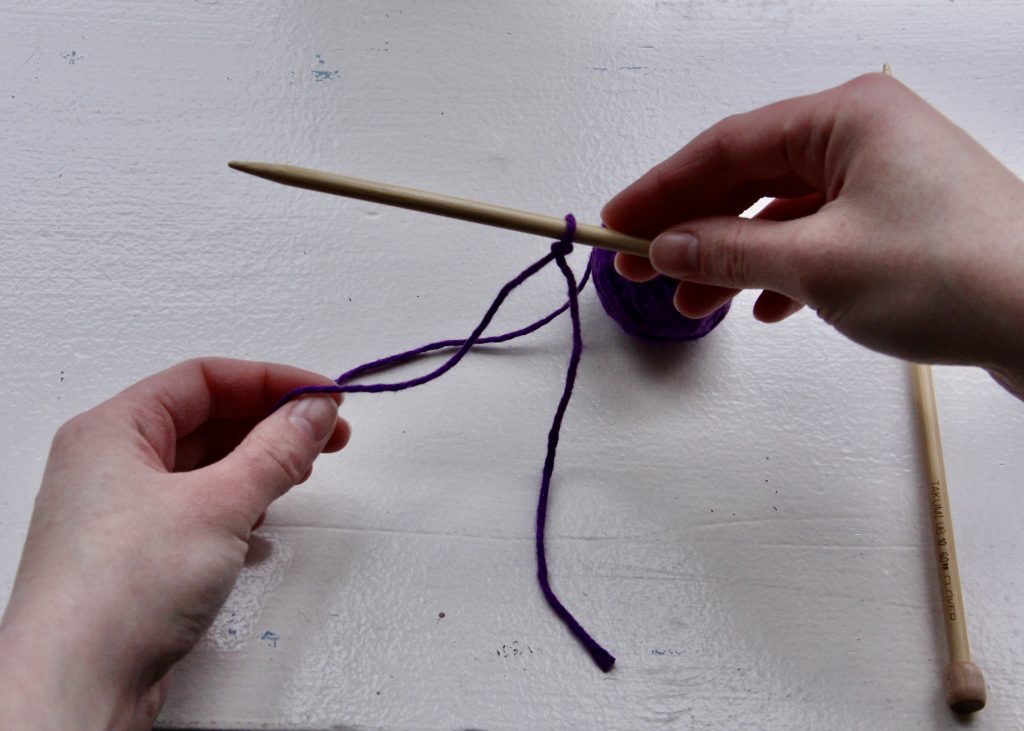
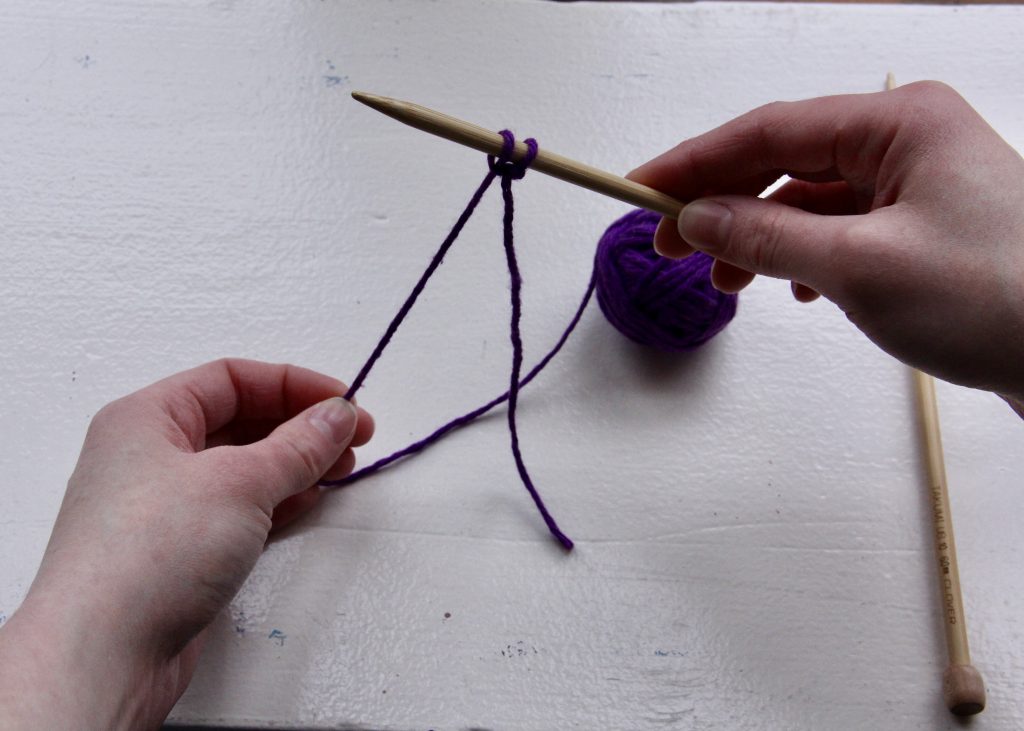
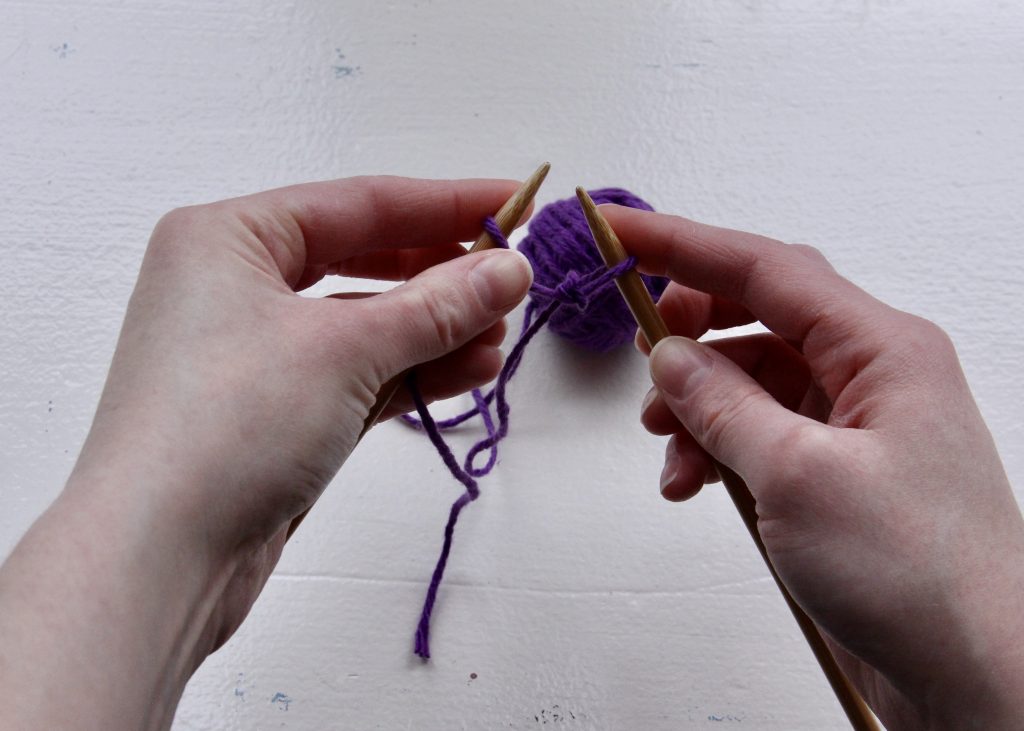
01. Start by taking one needle and wrapping the yarn over, around, and under the needle as shown above.
02. Take the end of the yarn and wrap it back under the needle. It will look a little like an upside down and backwards letter “e”.
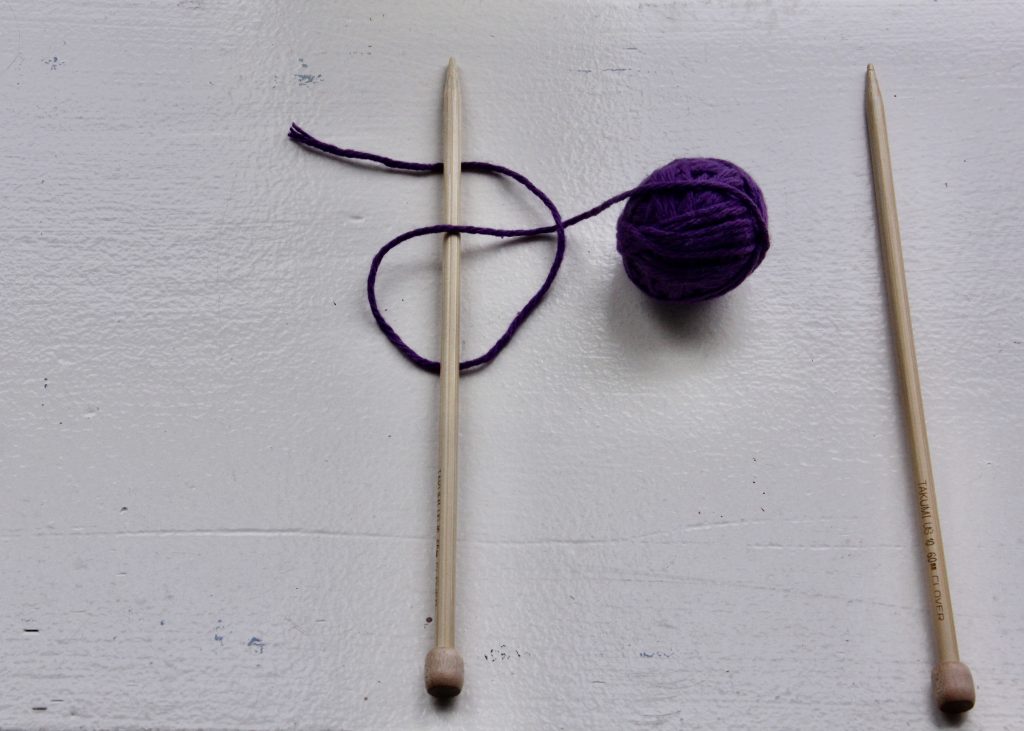
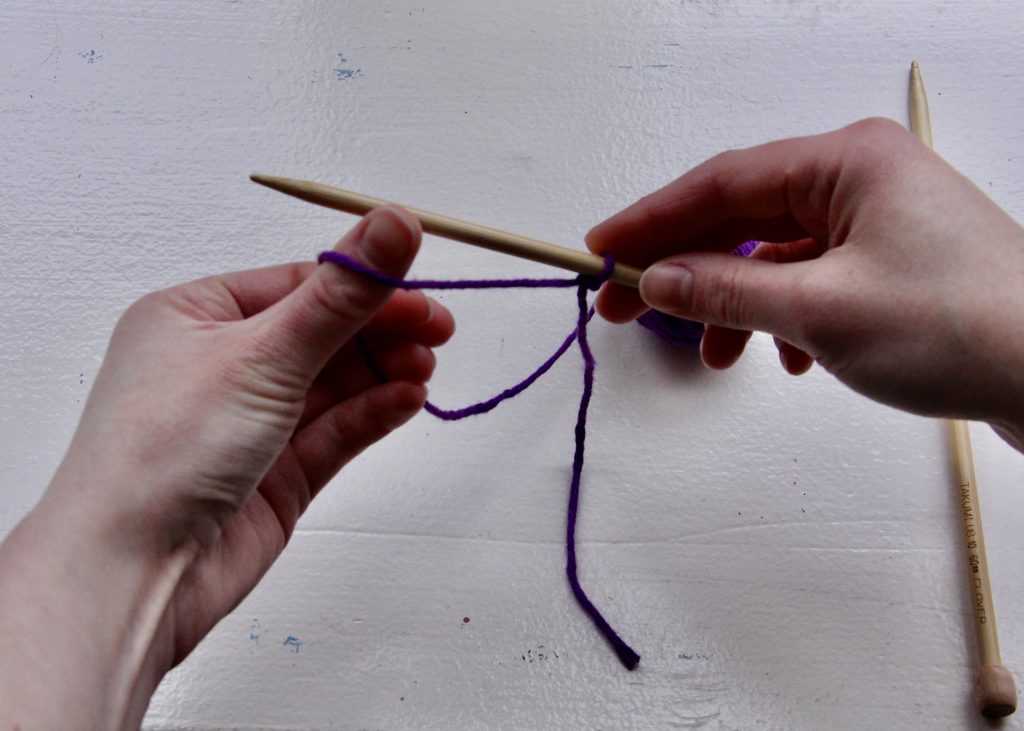
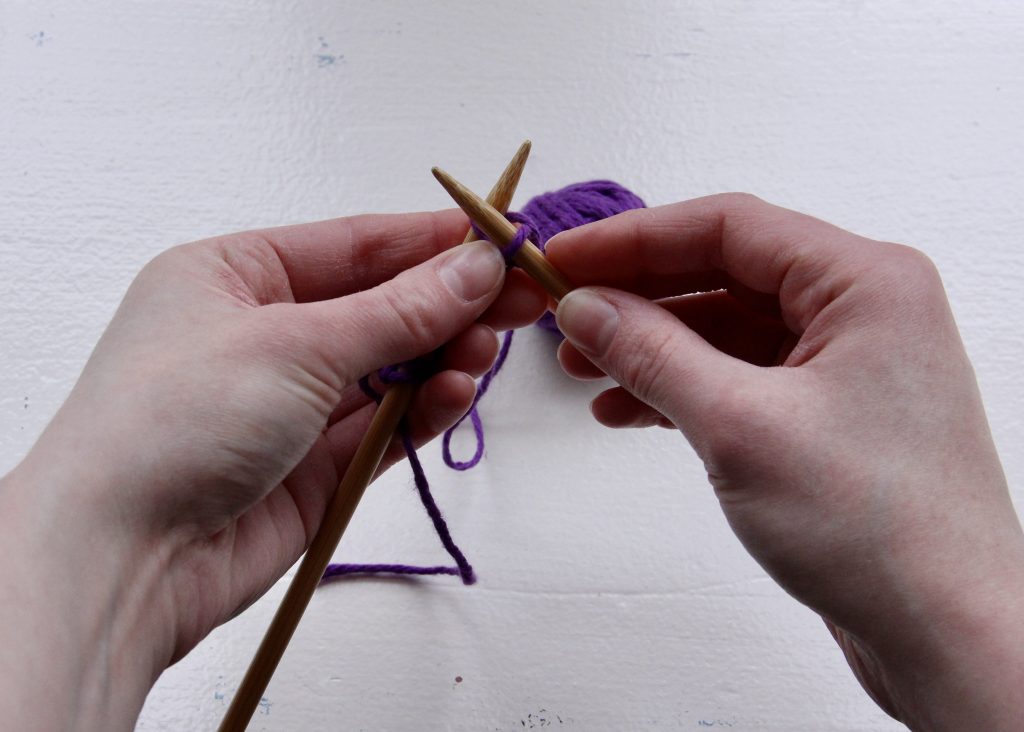
03. Next, loop the end of the yarn through the loop as shown above.
04. Pull the loop tight to form a loose knot.
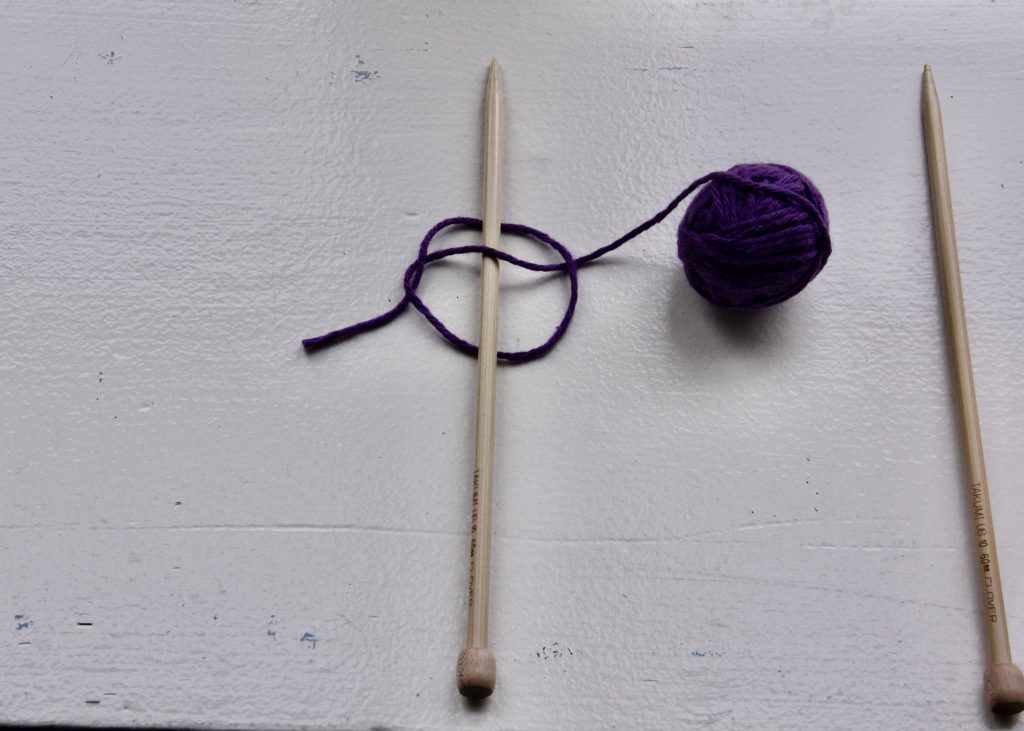
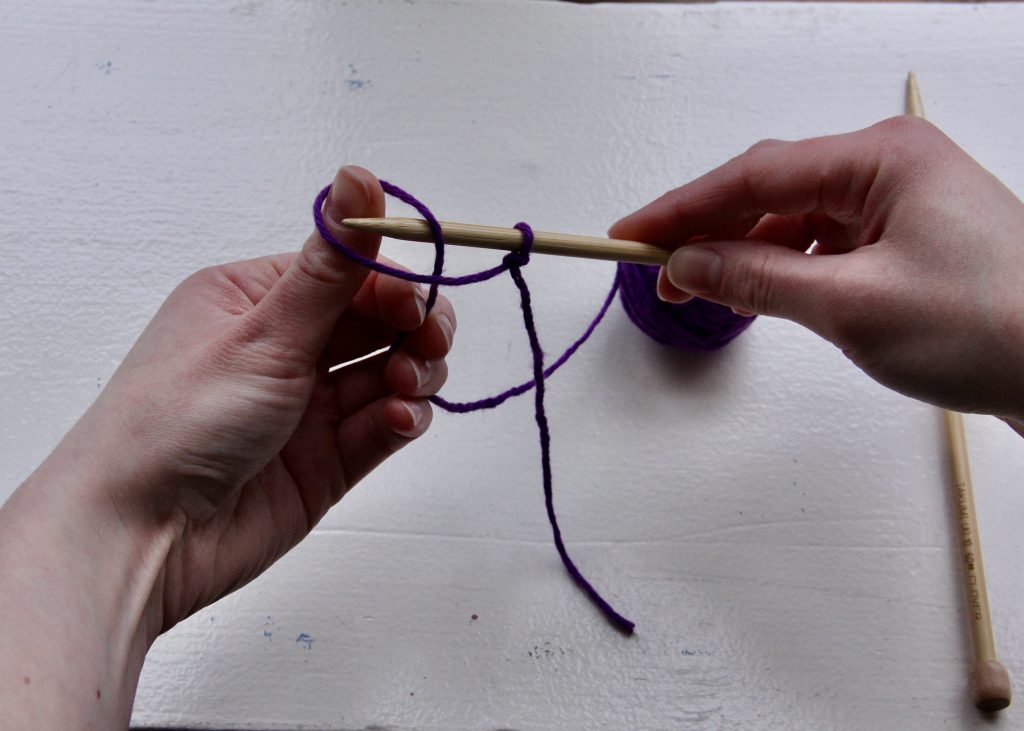
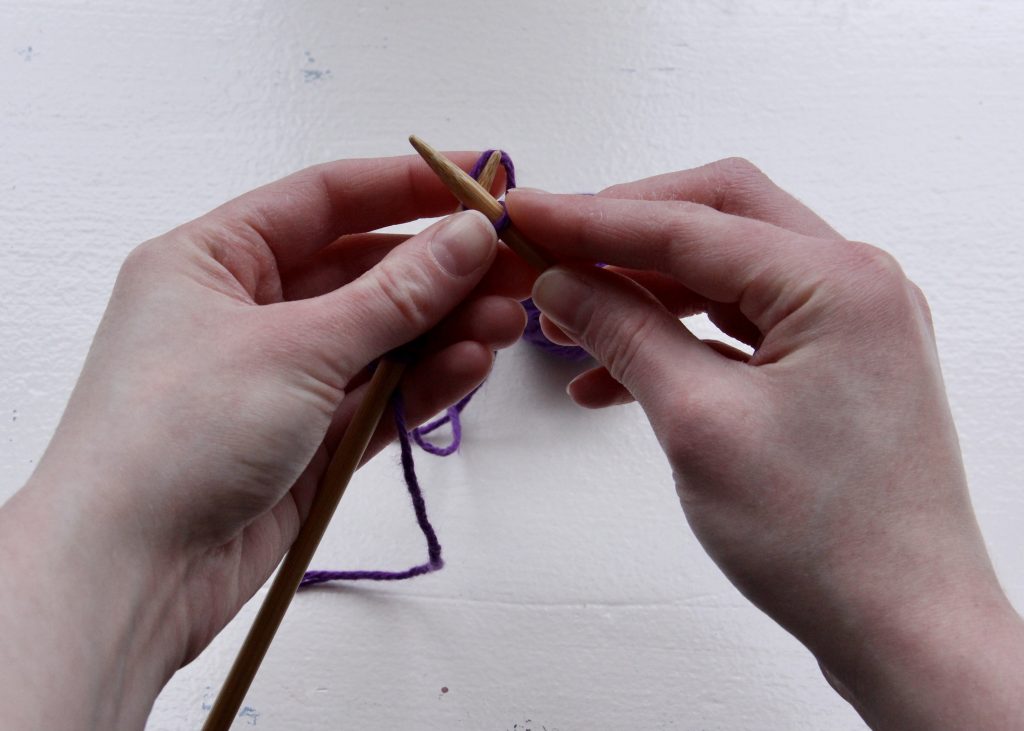
05. You will then have to adjust the knot on the needle to make sure it is pulled tight.
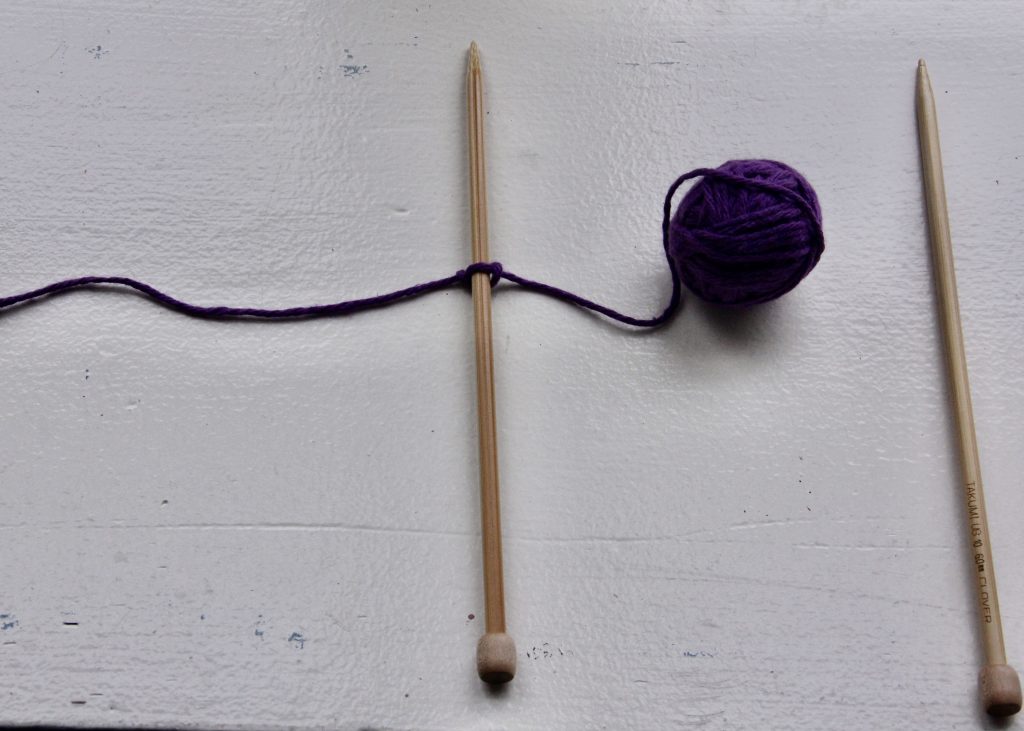
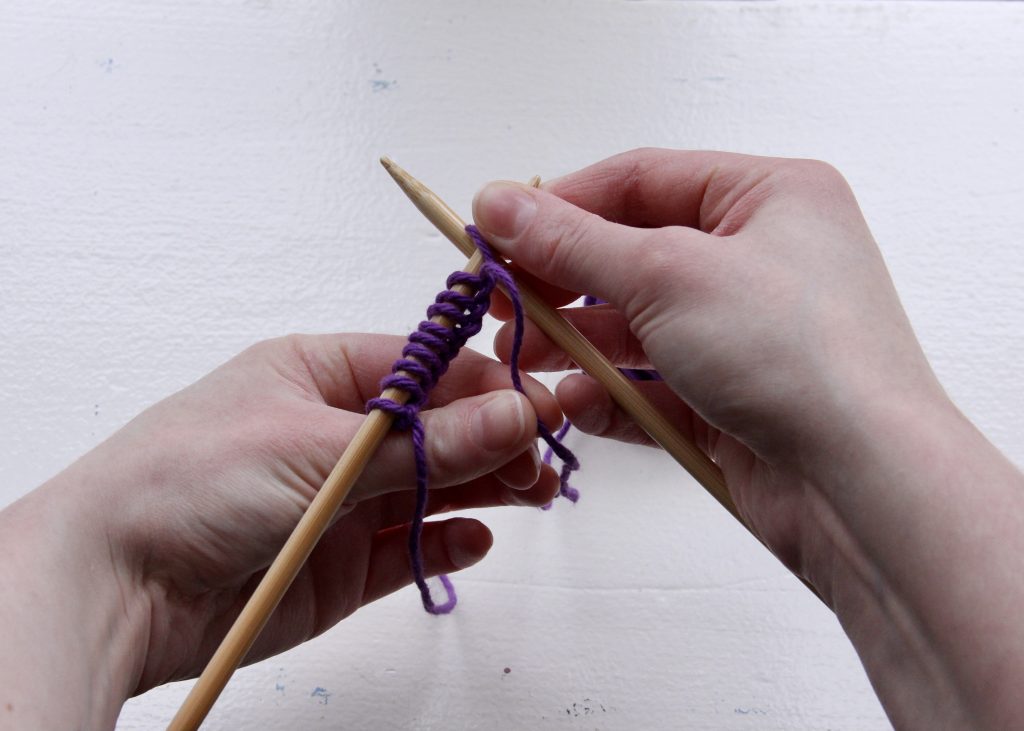
06. Take the needle in your right hand (or if you’re a leftie, in your left).
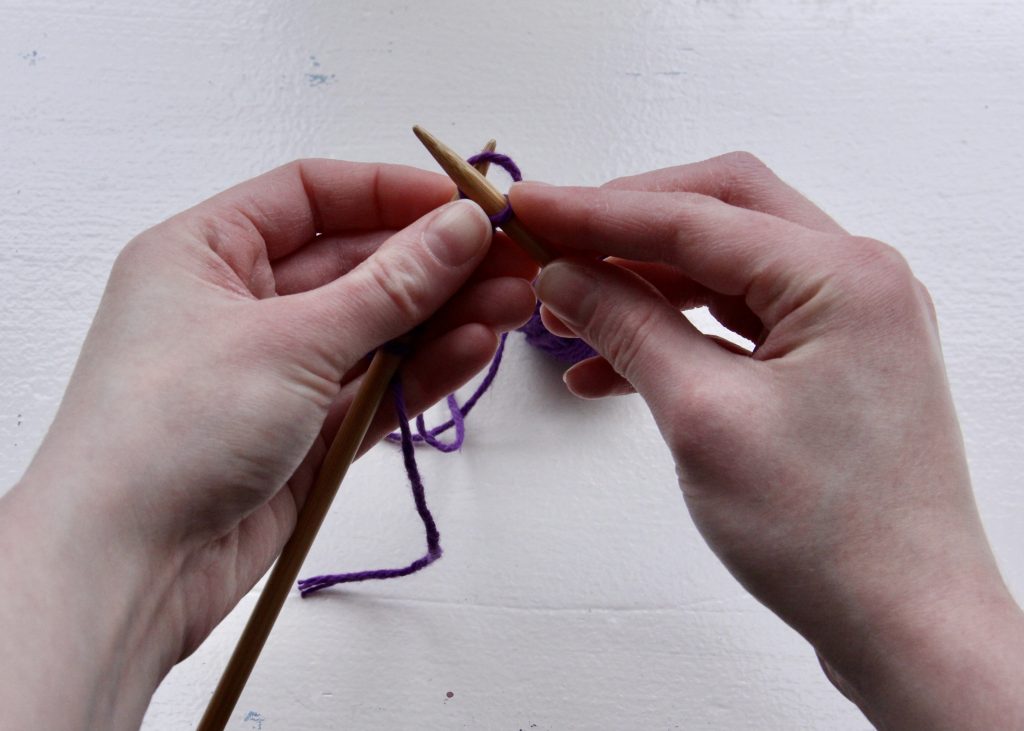
07. With your left hand, take the yarn from the ball (make sure you are not grabbing the tail of yarn from the cast on stitches) and wrap it around your thumb from back to front.
08. Stick the needle through the back side of the loop as shown above.

09. Slip the stitch onto the needle and pull the remaining yarn taut.
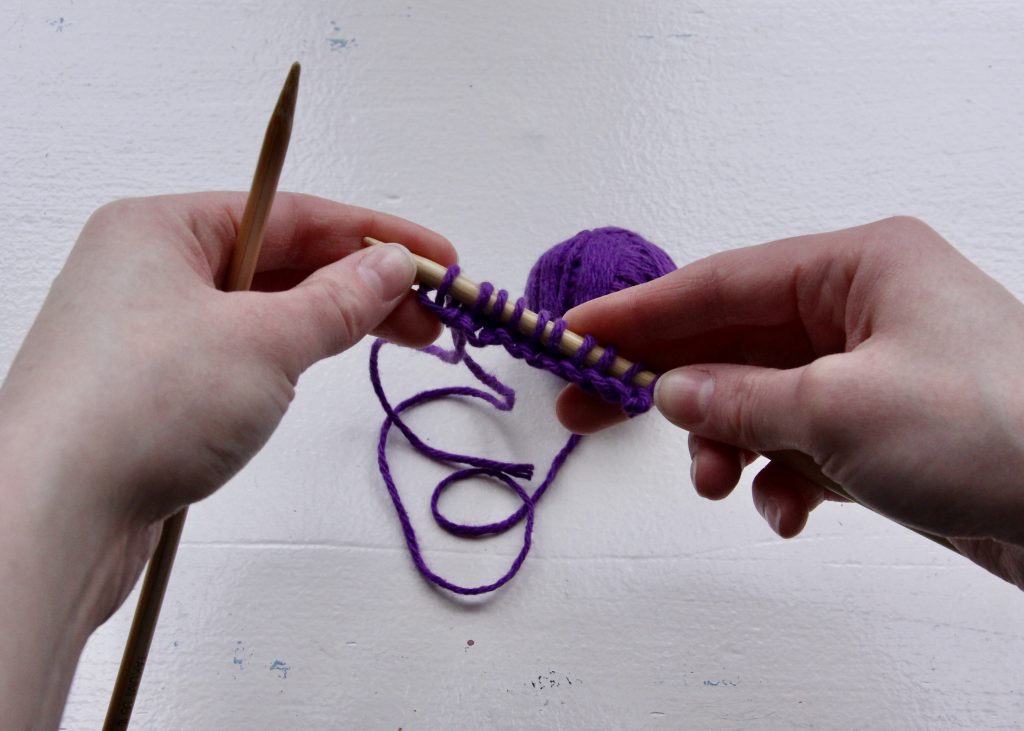
You have now cast two stitches onto your needle!
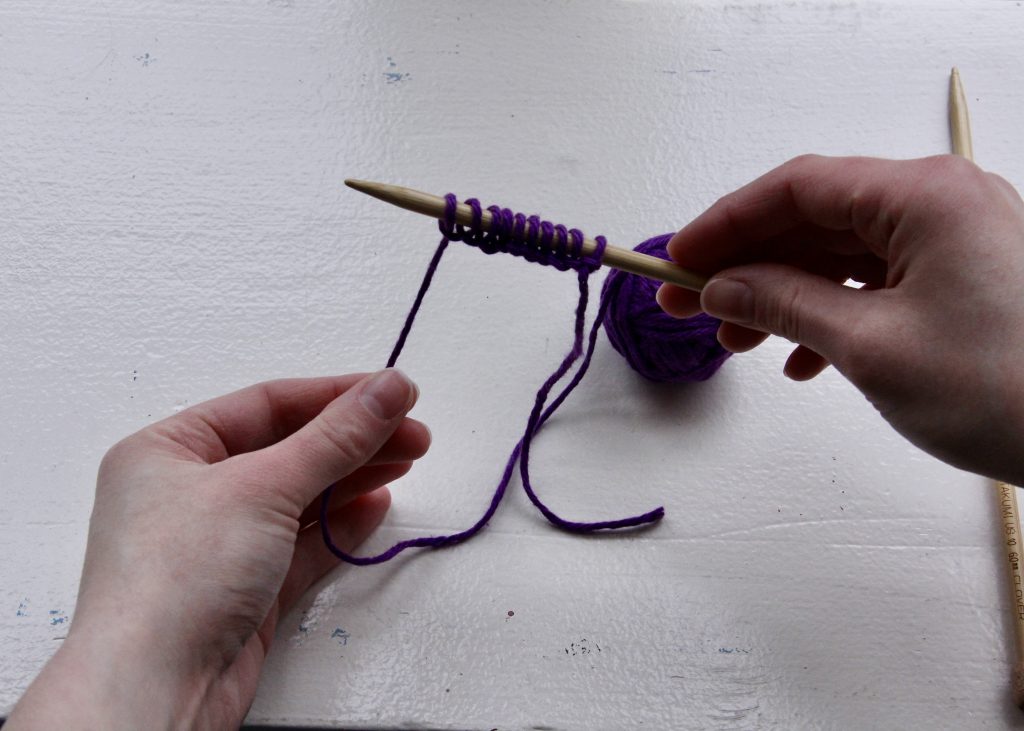
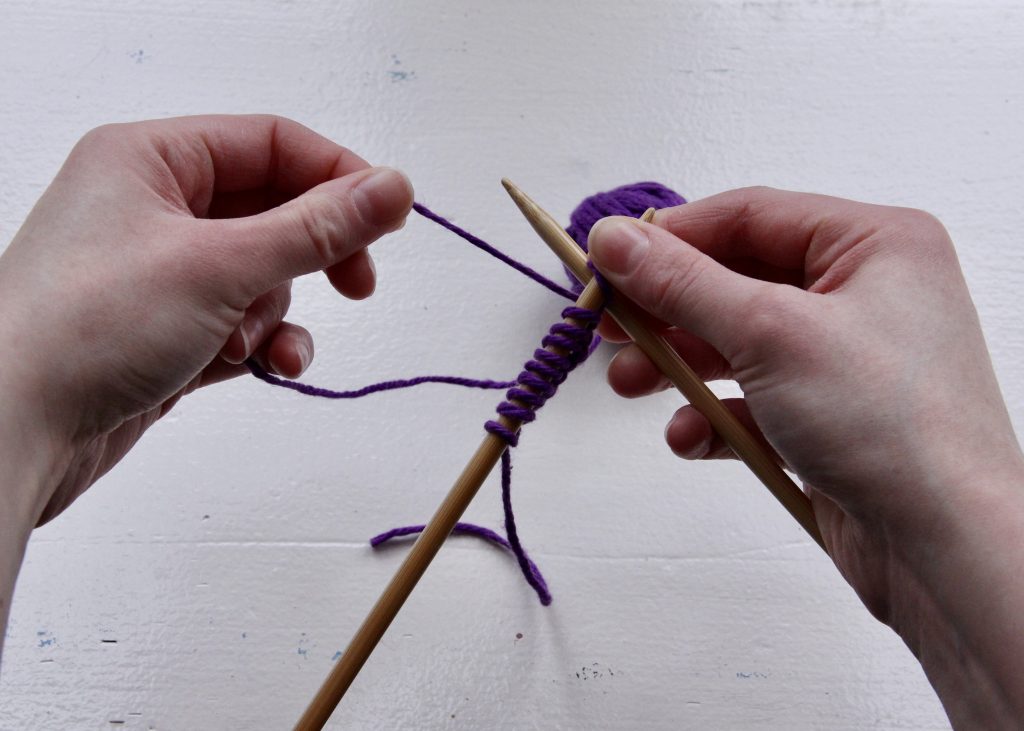
Repeat steps 07. – 09. until you have as many stitches as you want on your needle. For this tutorial I did 10 stitches.
The Knit Stitch
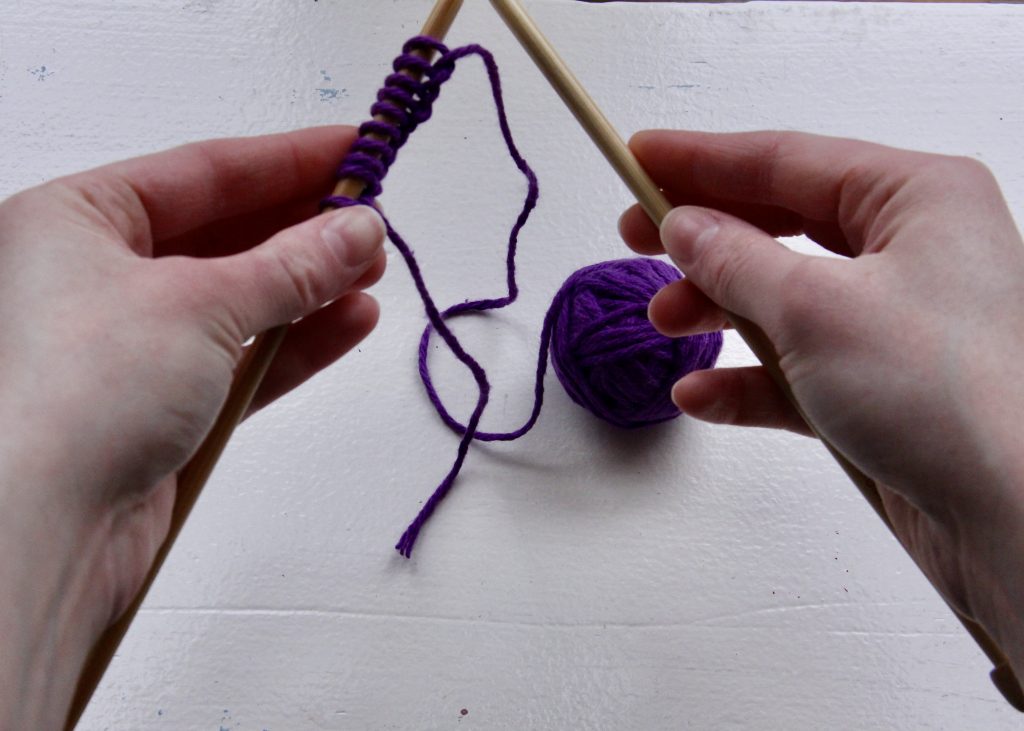
10. Next, take the needle with the stitches in your left hand (again, lefties are opposite) and the empty needle in your left hand.
11. Insert the right needle into the back side of the first stitch, as shown above.
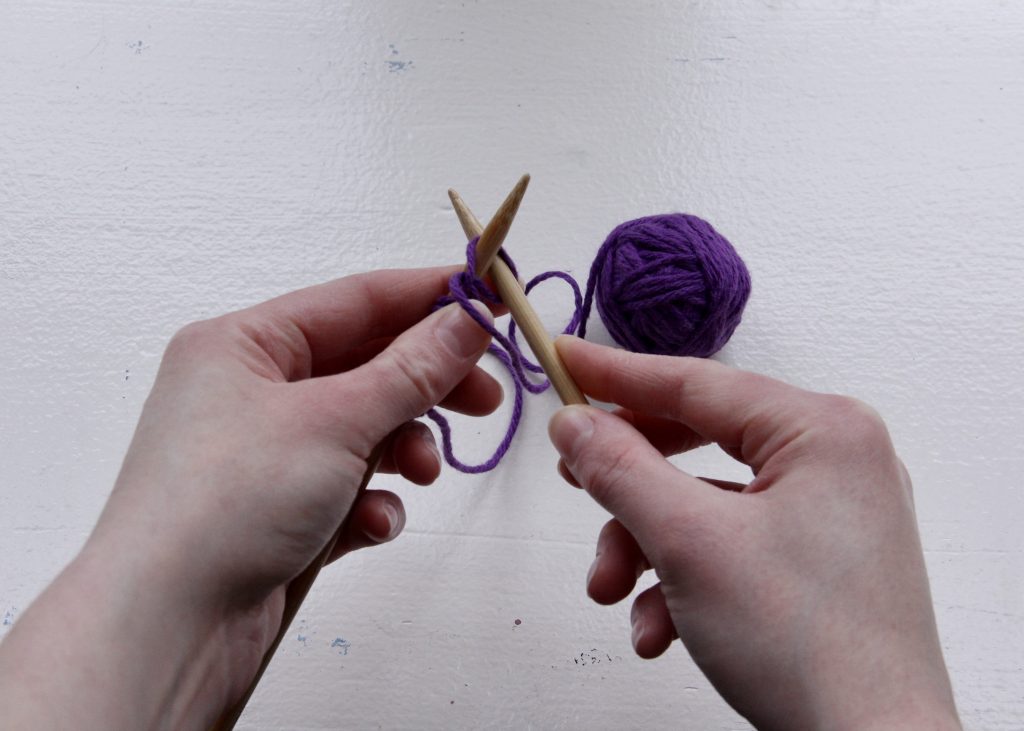
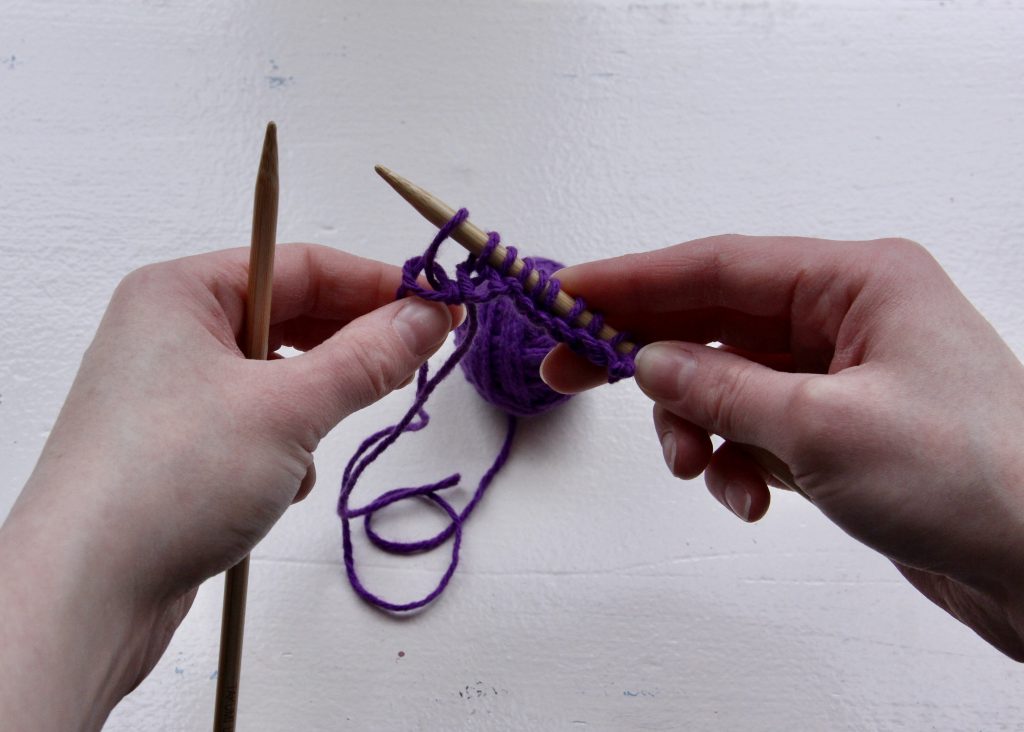
12. Using your left hand, take the yarn from the ball and pull it to your left.
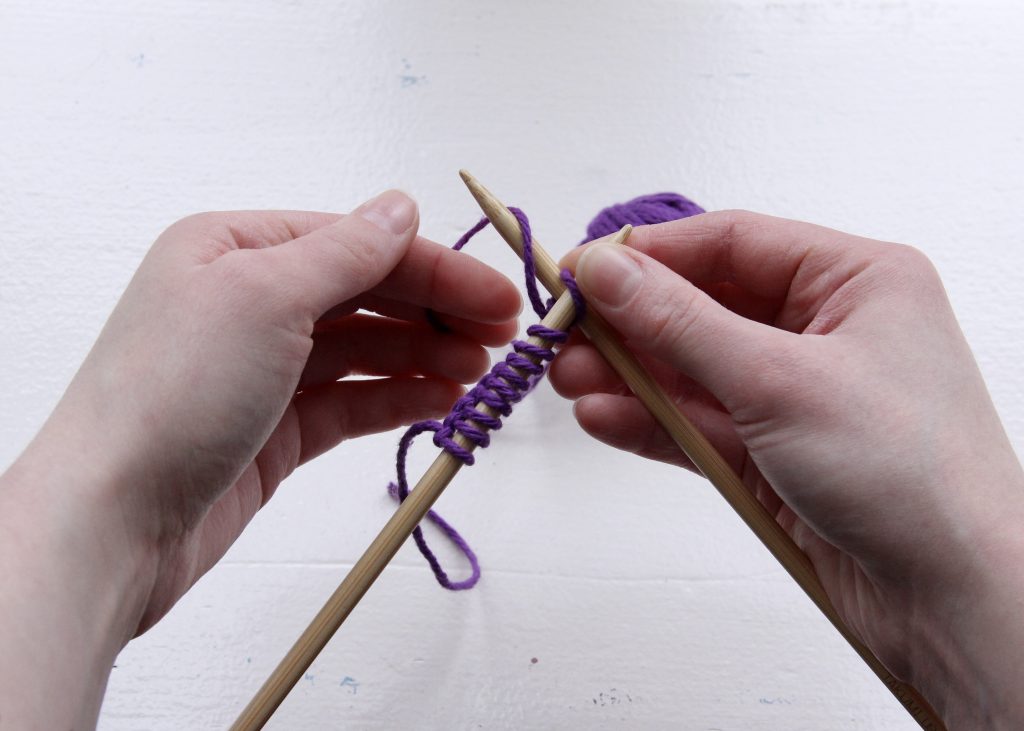
13. Loop the yarn over the righthand needle and back towards yourself.
14. Use the righthand needle to pull the yarn through the stitch on the lefthand needle.
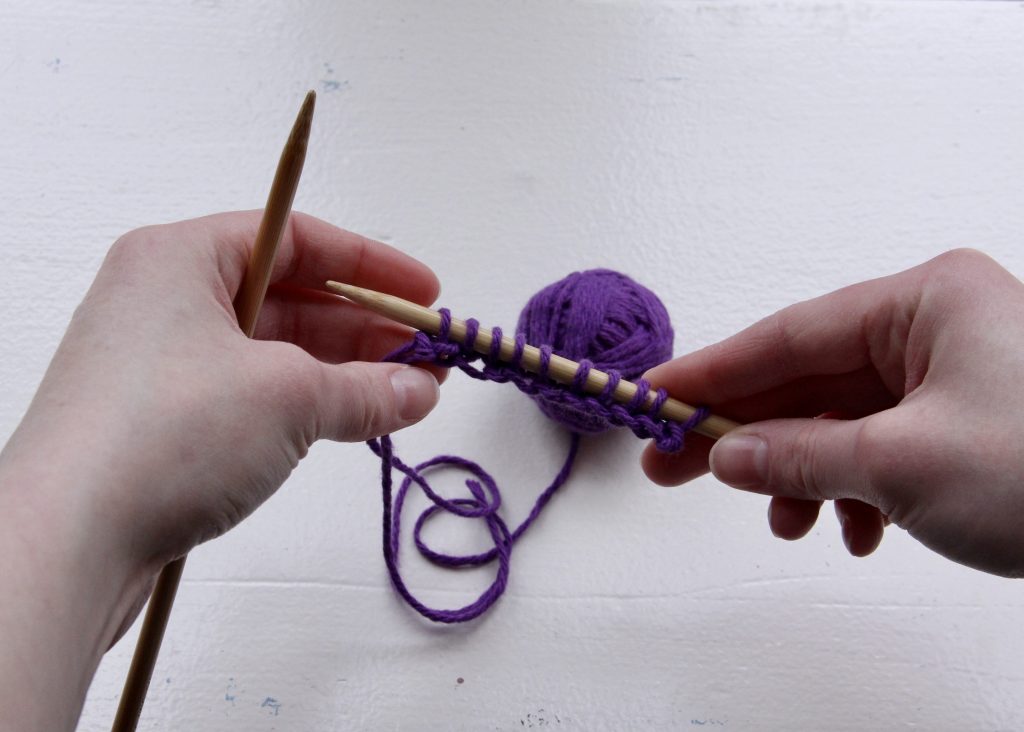
15. Next, slip the loop you just made off of the lefthand needle and onto the righthand needle.
Congratulations! You have now knitted your first stitch!
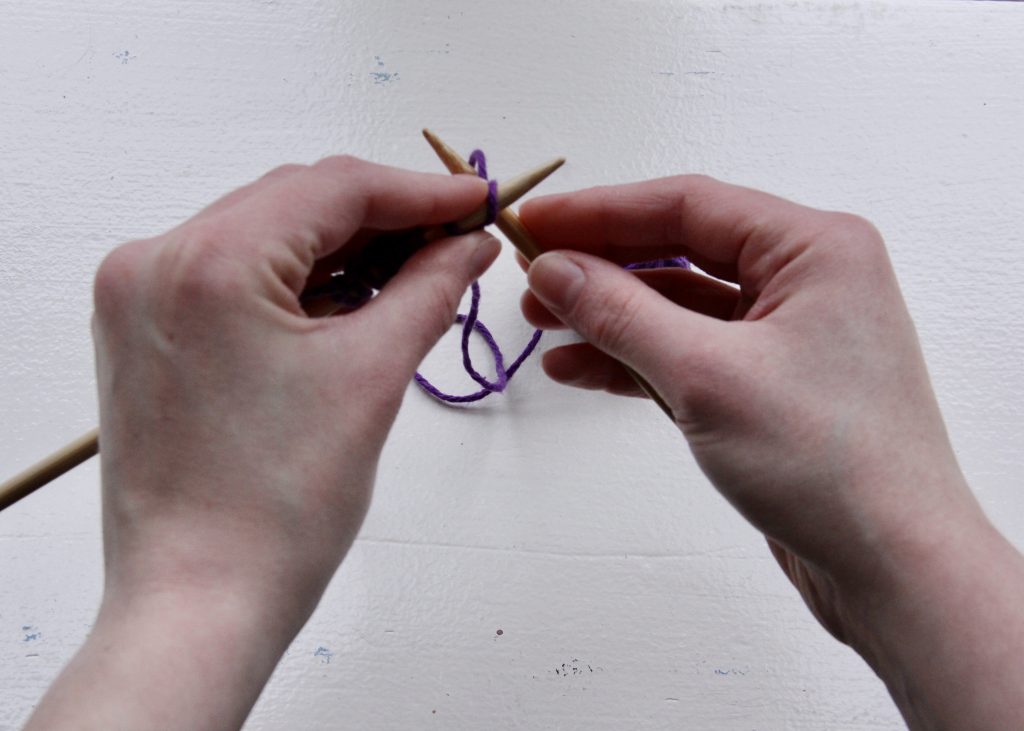
Repeat steps 11. – 15. until the end of the row. When you reach the end of a row, you simply switch the needle with the stitches back into your left hand and repeat until you have knit as many rows as you want for your project.
At the end of each row, the last stitch may look a little loose and sometimes you may have to pull on it a little to even it out. Just make sure you don’t tug too hard or you might make the whole row look uneven.
Congratulations!! You now know the knit stitch! I will post a tutorial for the purl stitch and binding off sometime in the next few days
Once you’ve mastered these basic stitches and techniques, you’re ready to knit basic scarves, hats, mittens, and lots of other cool things!
See you soon:)