It’s a little later than I had intended to post it, (sorry!), but as promised, here is part 2 of the Basic Knitting Tutorial. In this tutorial, I’m going to show you how to do the purl stitch and finish your project by binding off.
This post contains Amazon affiliate links. That means I may receive a small commission if you make a purchase using these links. You do not pay a higher price by clicking my links!
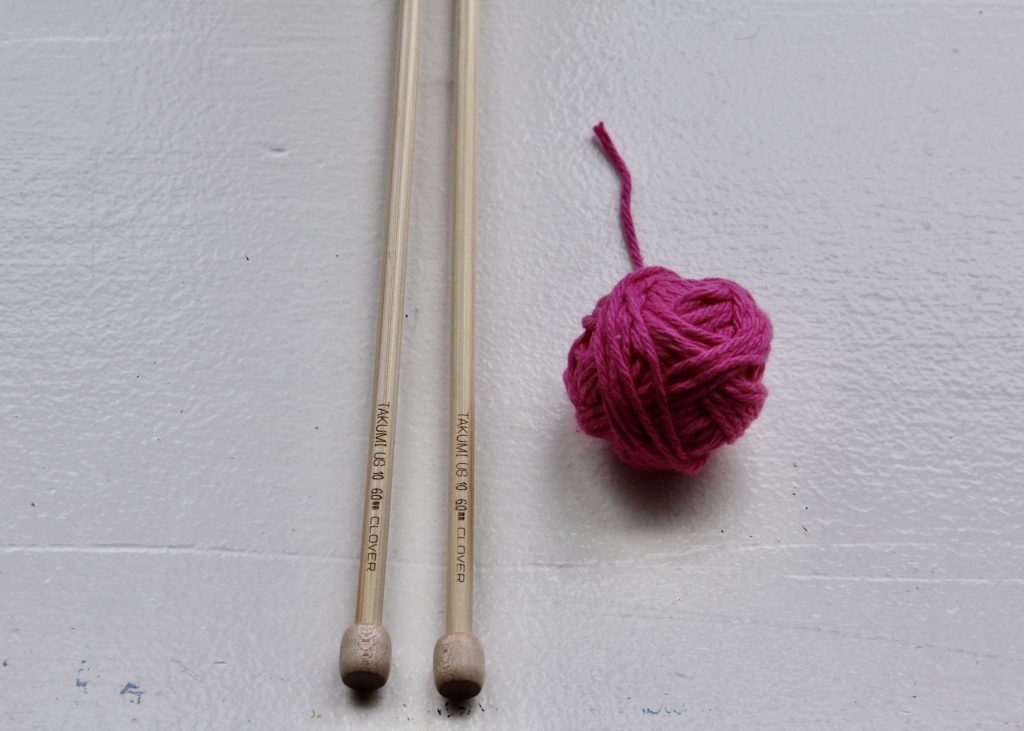
Again, you’re going to need a pair of knitting needles and a ball of yarn. I used my Clover Takumi No. 10’s and a small ball of leftover yarn.
Casting On
Before you learn the purl stitch, you first have to cast on. If you need a quick refresher, check out part 1 of the tutorial here.
The Purl Stitch
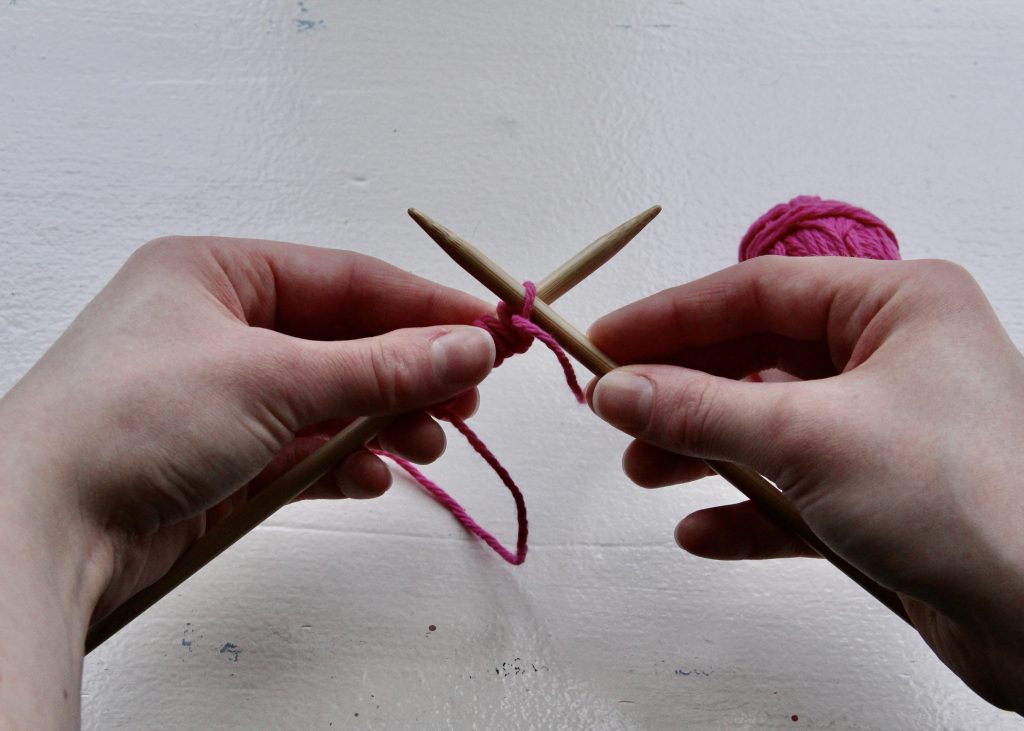
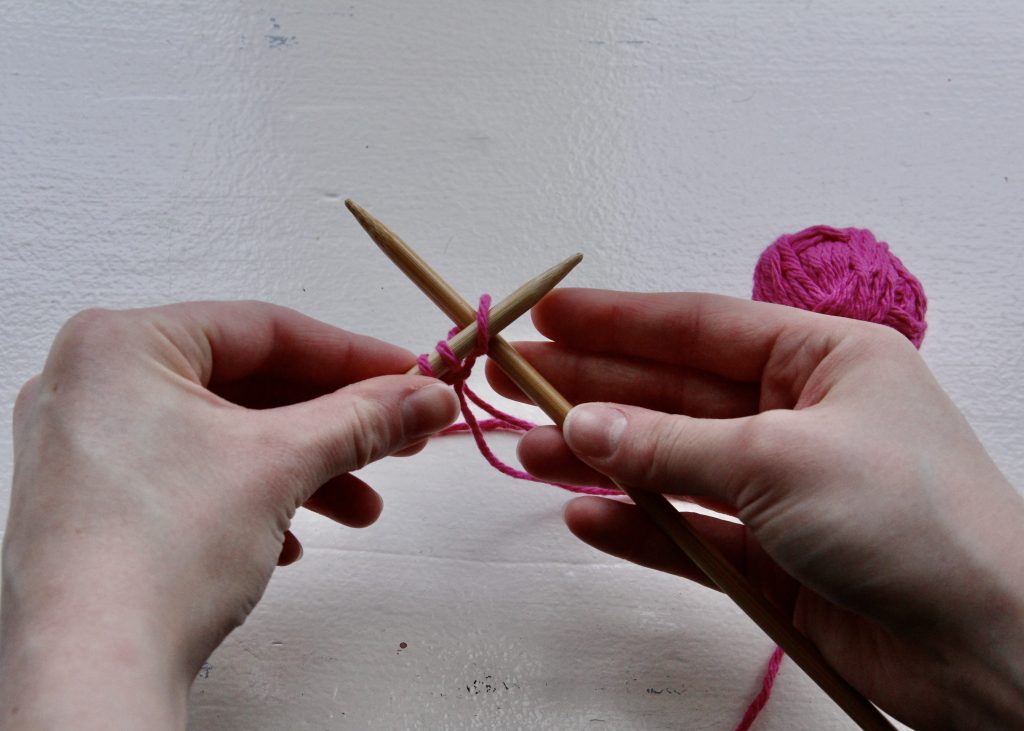
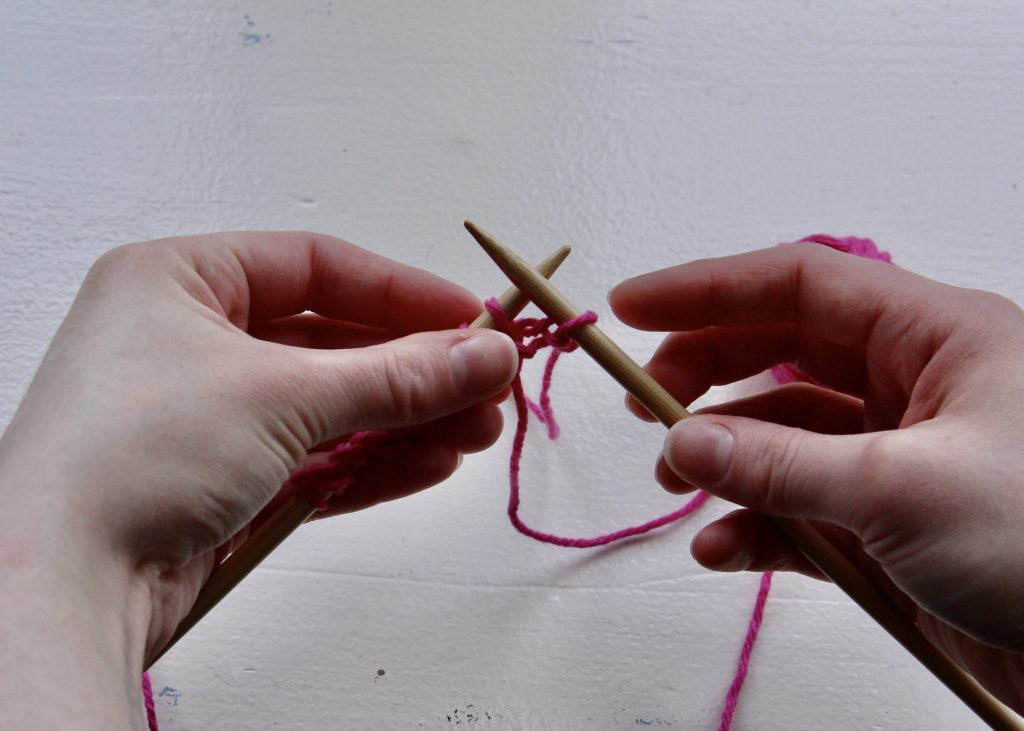
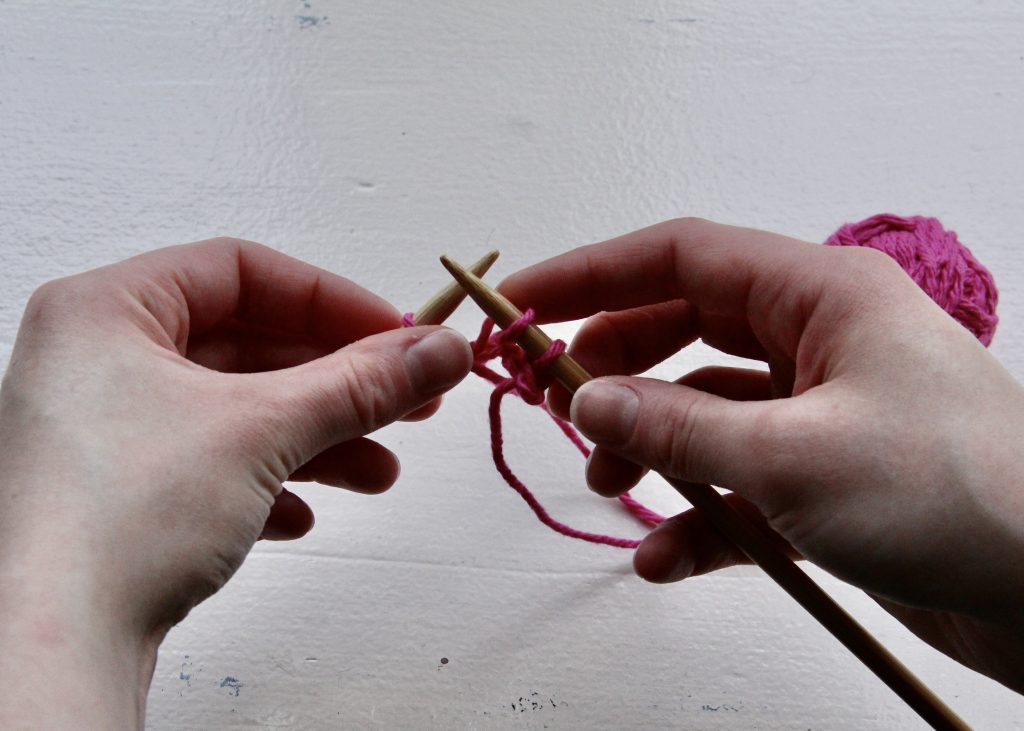
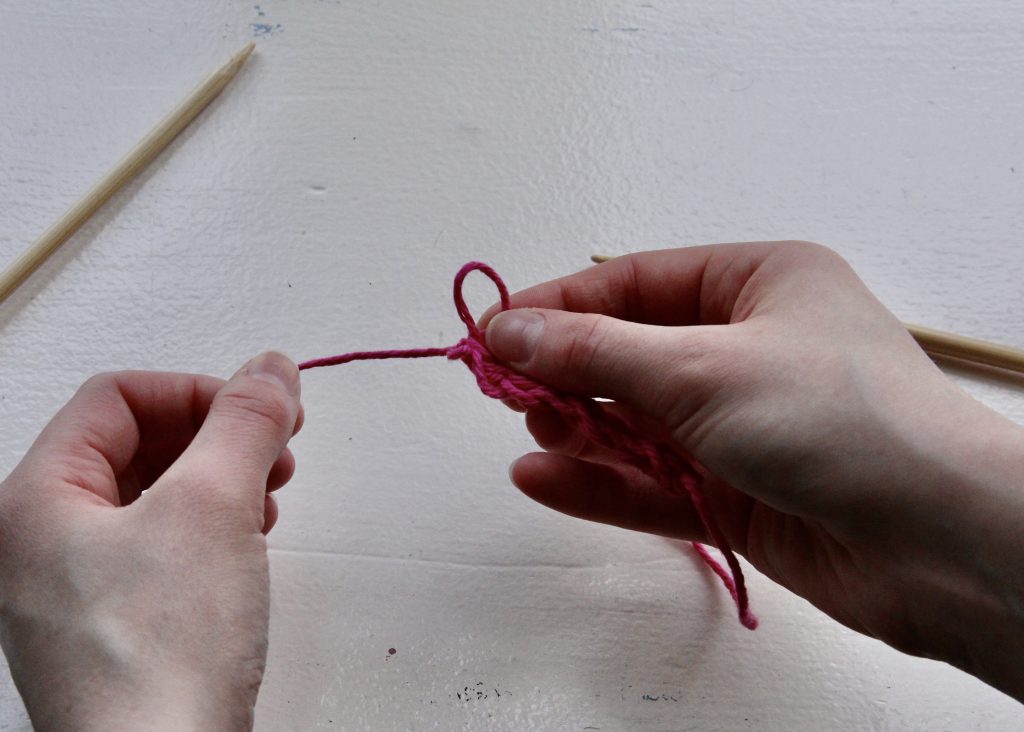
01. After you have cast on, take the needle with the stitches in your left hand (or if you’re a leftie, in your right hand) and insert the other needle into the front of the first stitch.
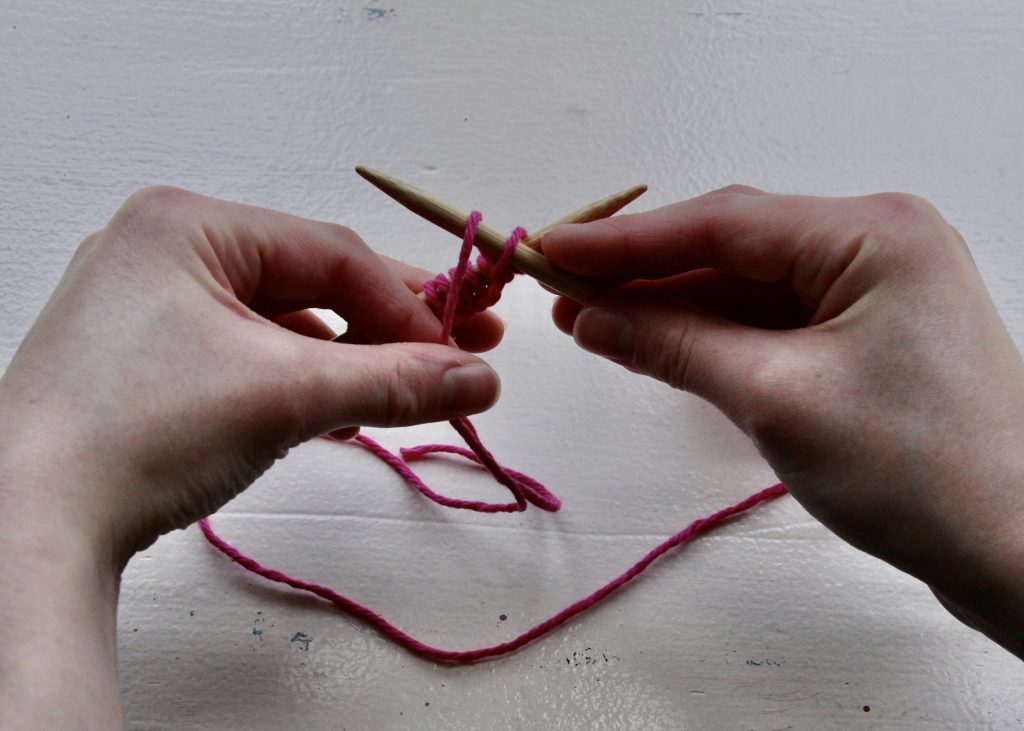
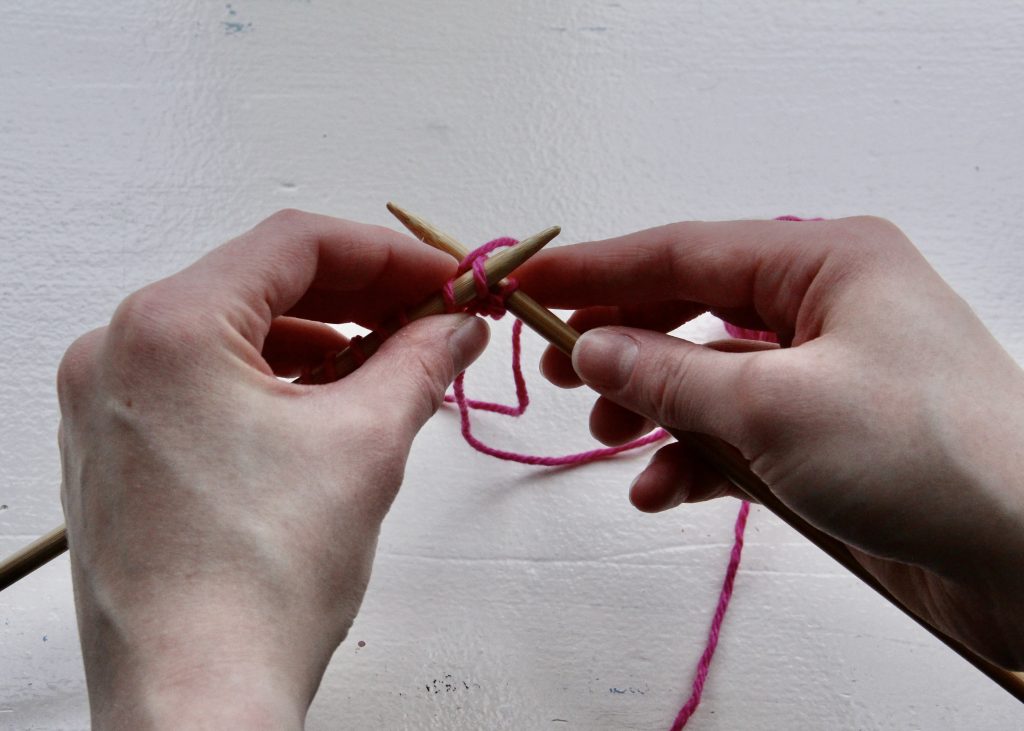
02. Using your left hand, take the yarn from the ball (not the tail yarn) and wrap it over the front of the righthand needle.
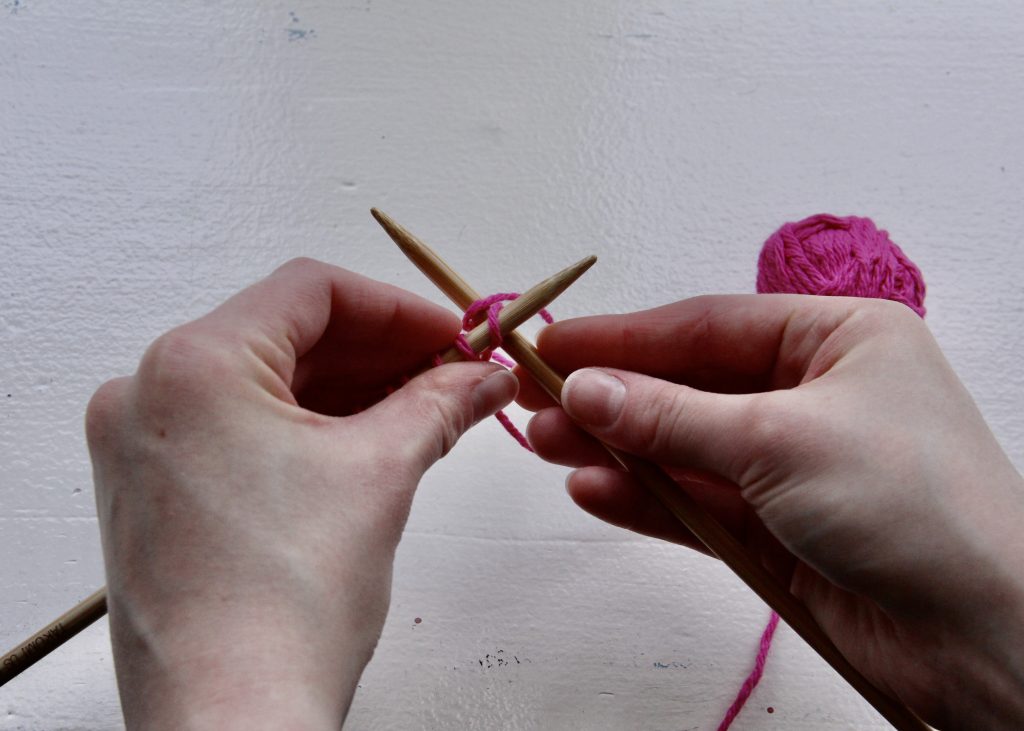
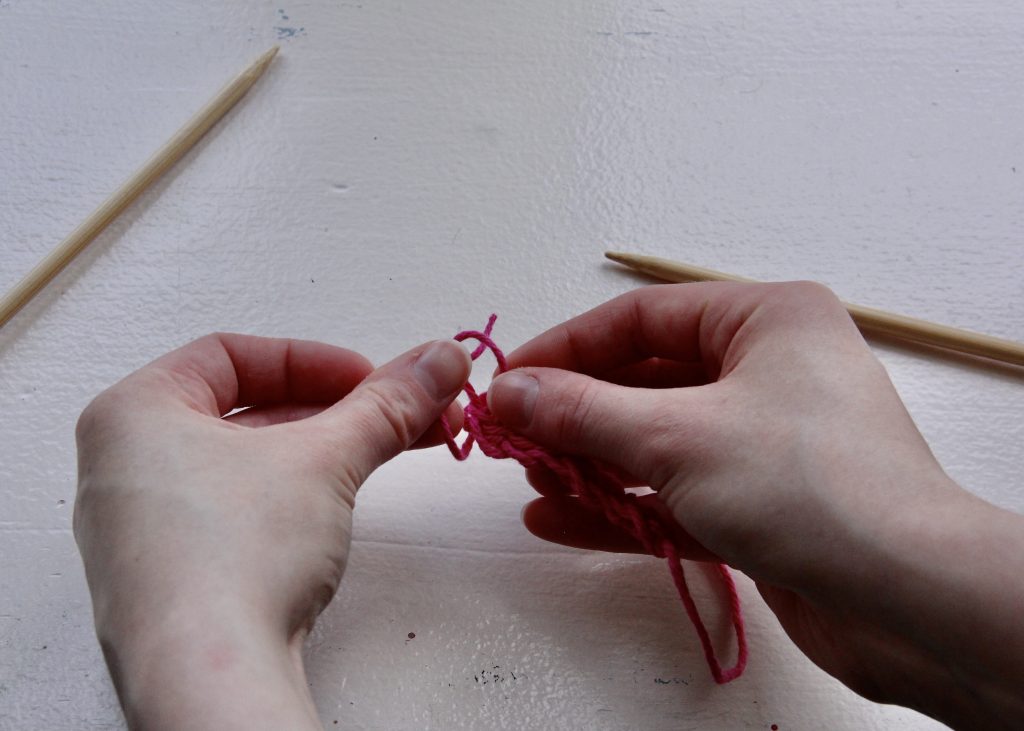
03. Use the righthand needle to pull the loop of yarn through the first stitch.
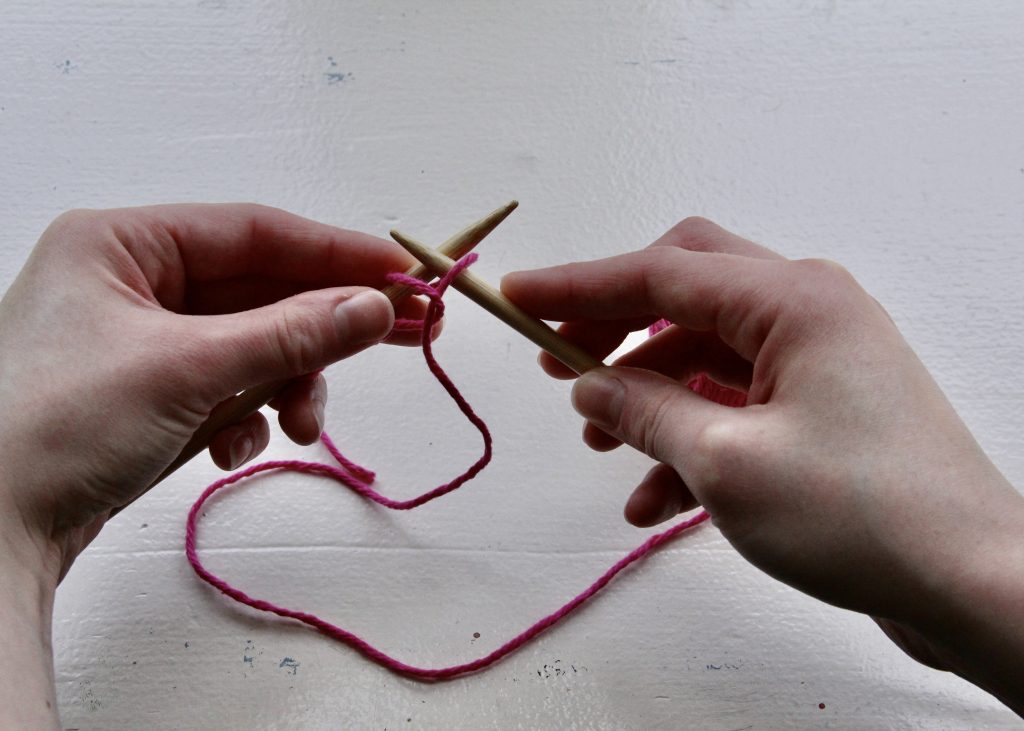
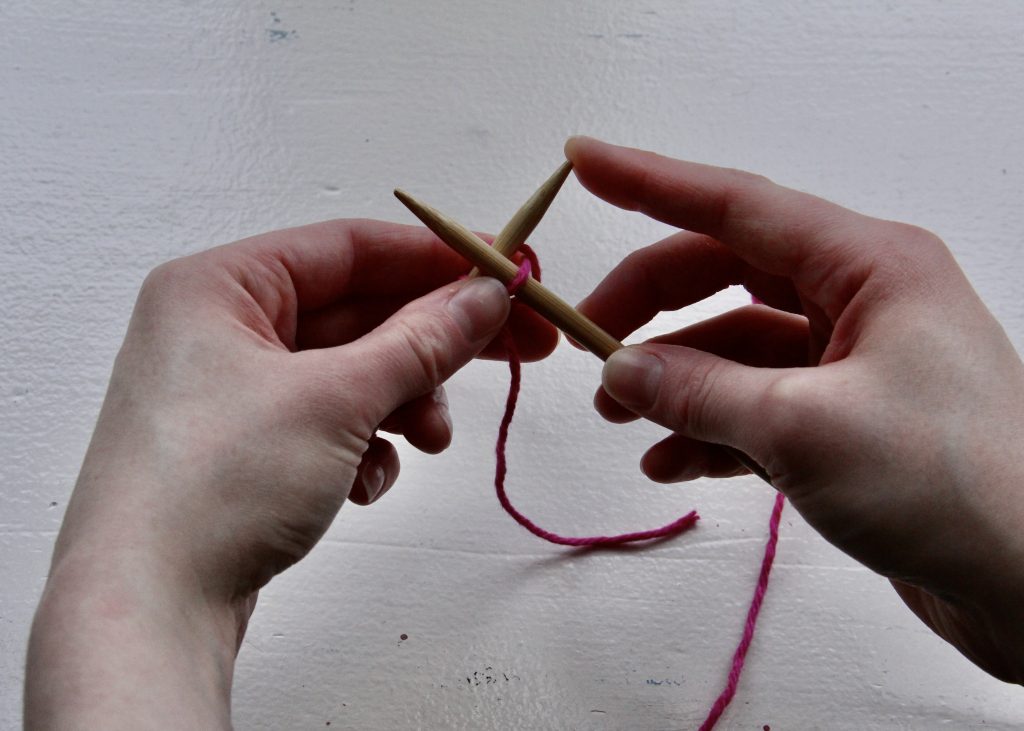
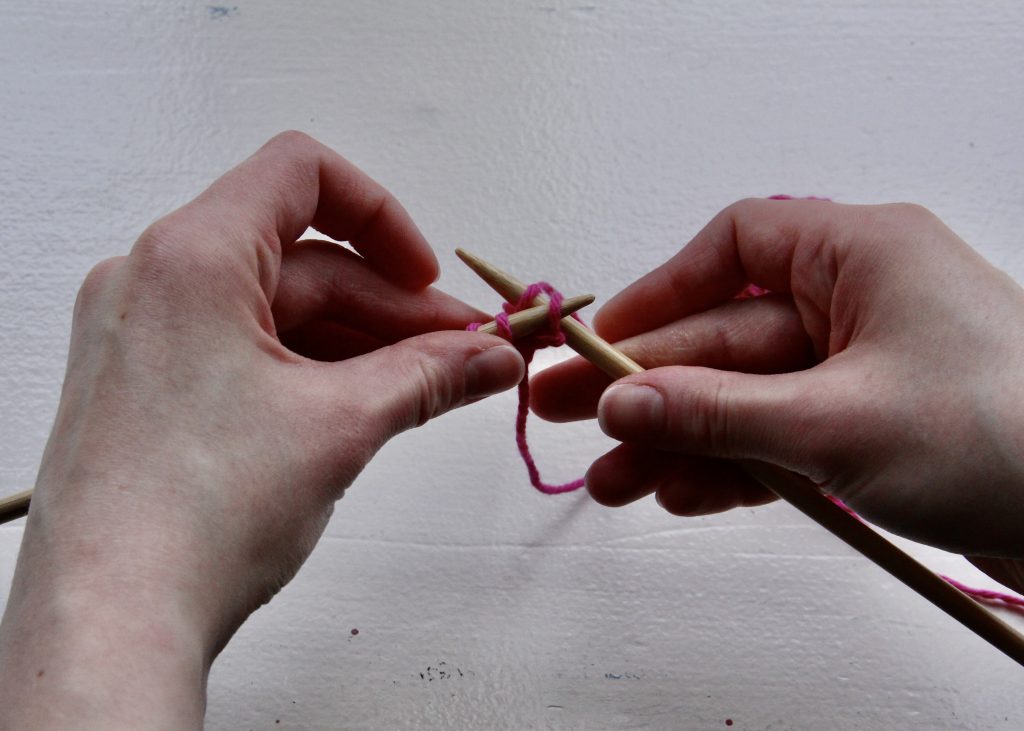
04. Slip the stitch off of the left needle and onto the right one.

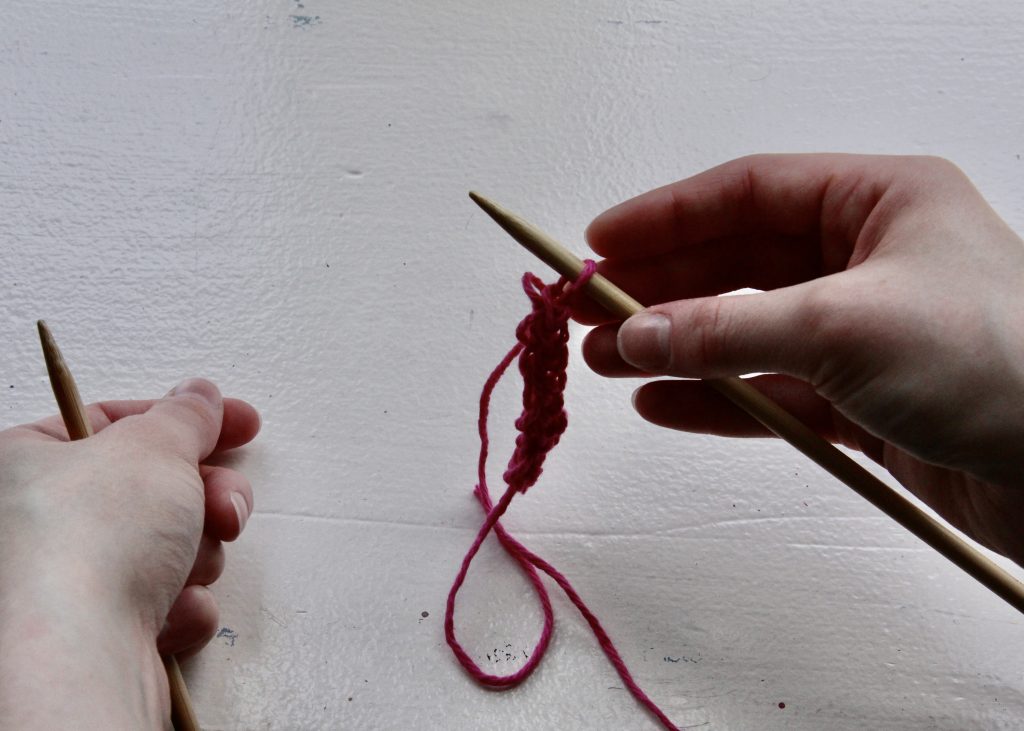
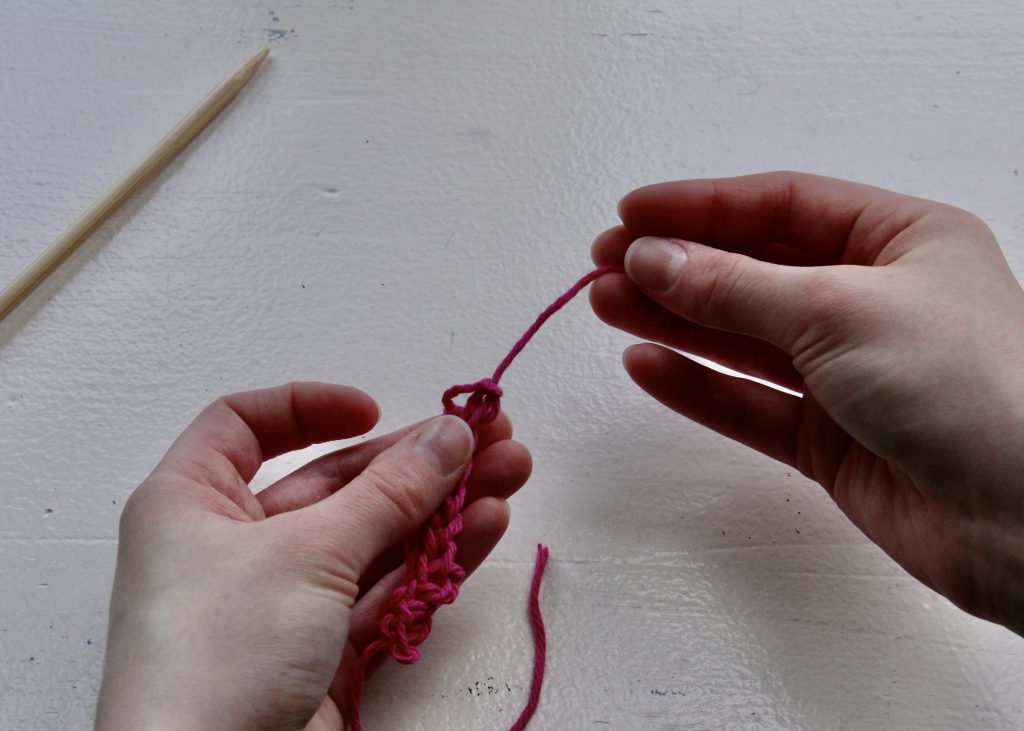
Congratulations! You have now purled your first stitch!
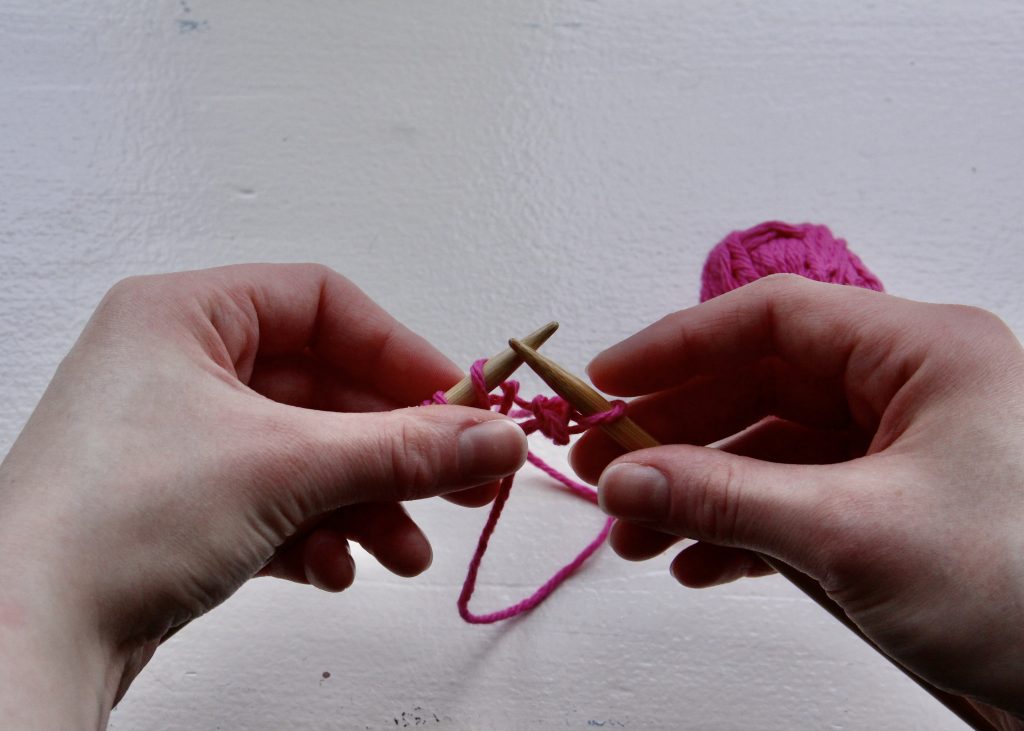
At this point, after only purling one stitch it will look a little funny, but after you finish the row it will look better.
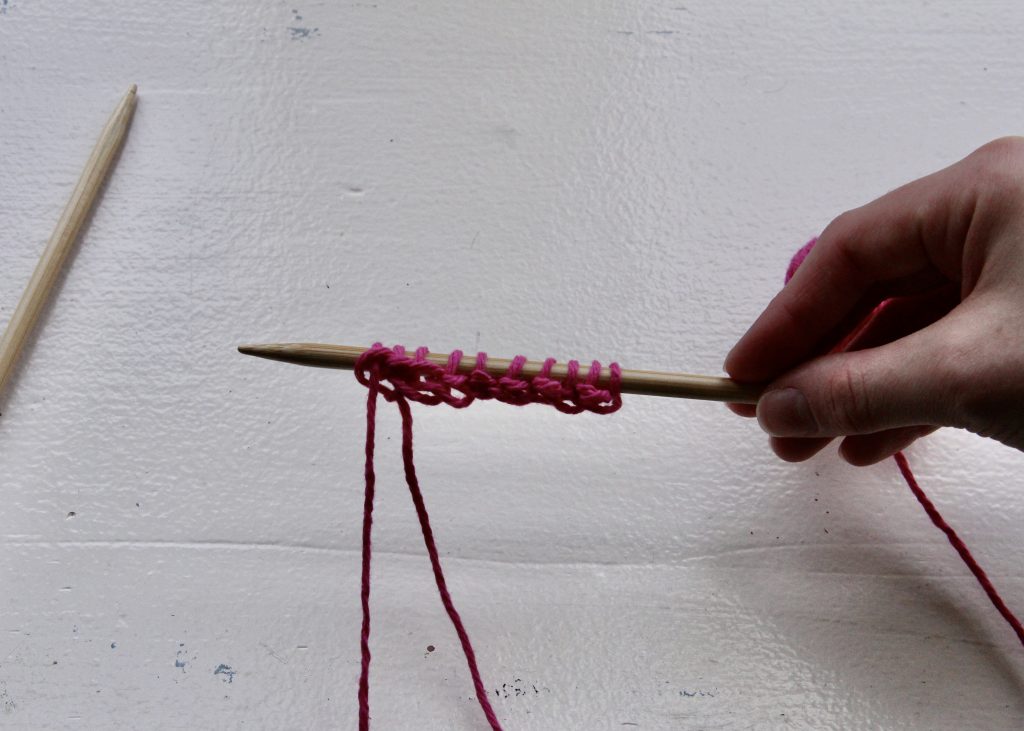
Continue to the end of the row and it should look a little like this.
Binding Off
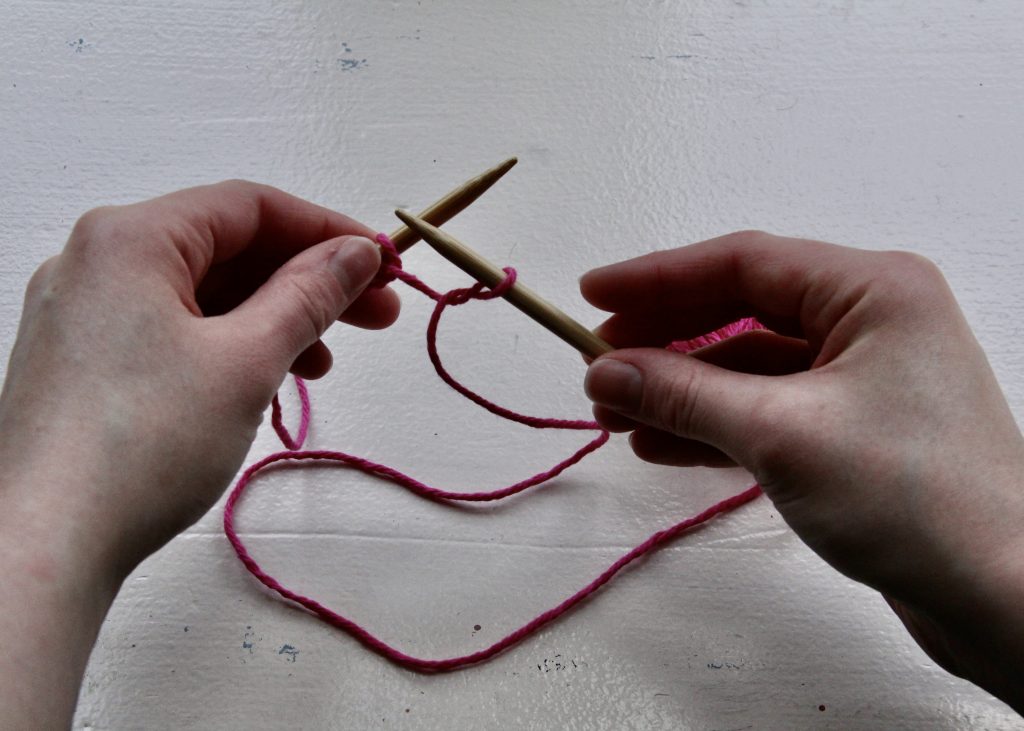
05. Take the needle with stitches in your left hand and insert the right needle into the back of the first stitch.
06. Loop the yarn from the ball between the needles as if you were about to knit a stitch (you actually are!).
07. Insert the righthand needle into the stitch and catch the loop.
08. Slip the stitch onto your righthand needle, again just like when you’re knitting.
09. Repeat that process to knit another stitch onto your righthand needle.
10. After you have two stitches on your righthand needle, insert your lefthand needle into the first stitch on the right needle (the first stitch you knitted that is furthest to the right).

11. Slip the second stitch through the first stitch and you will now only have one stitch on your righthand needle.
12. Knit another stitch onto your righthand needle and repeat the process until you only have one stitch left on your righthand needle and no stitches are left on your lefthand needle.
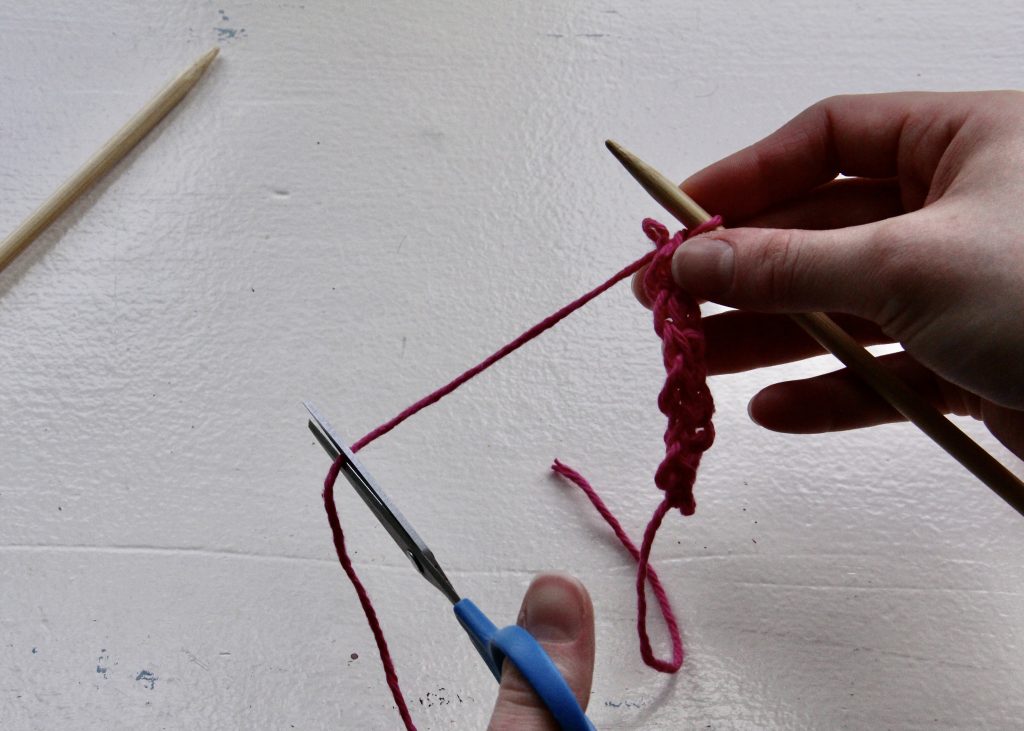
13. Cut the yarn leaving about a 5 inch tail (no, I’m not left-handed, I just held the scissors that way for the picture:).
14. Take that yarn tail that you just cut and tie a knot through the last stitch loop.

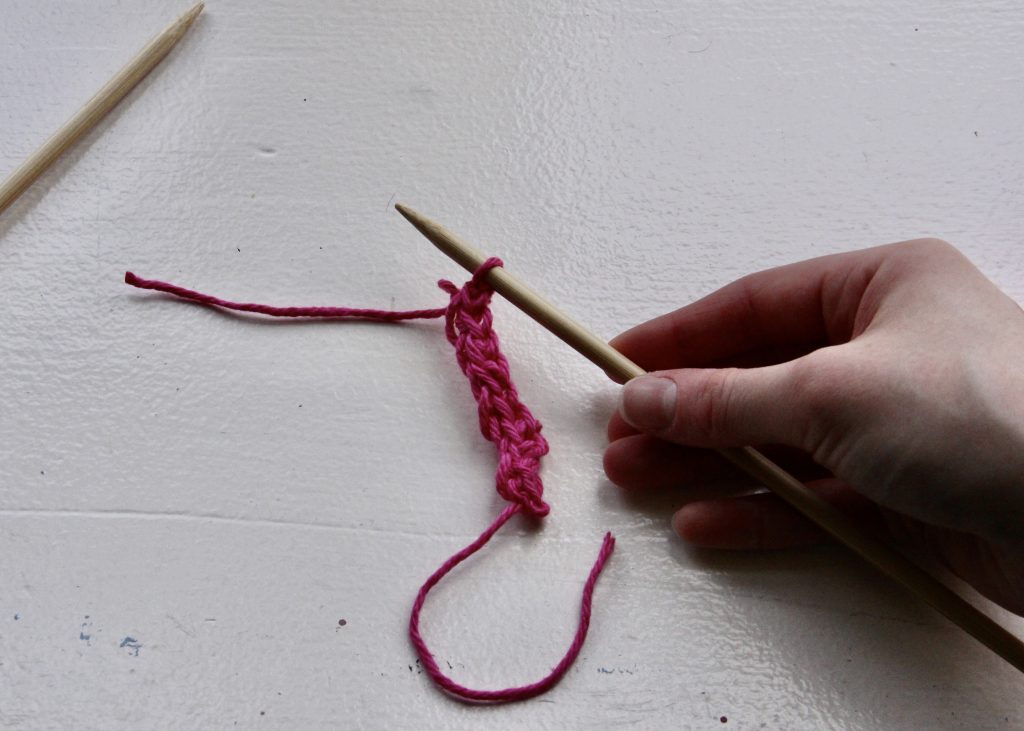
15. After you’ve tied the knot, use a yarn needle to weave the loose ends of yarn into the knitted piece (I didn’t do that for this tutorial, but if it had been an actual project I would have).
Congratulations again! You have now learned how to bind off your project!
Now you know the two basic stitches used in most knitting projects, as well as how to cast on and bind off. If any of these techniques still feels challenging, don’t give up! Just keep practicing until they feel more comfortable and before you know it these steps will be second nature and you will be knitting all sorts of cute things!