Since it’s September, I think it’s officially appropriate to start talking, decorating, and getting ready for all things fall, don’t you agree?
I’ve been seeing all these adorable knit pumpkins all over the place for a few years now, but only last year did I finally decide I had to make some of my own!
This mini pumpkin knitting tutorial is super easy if you know the two basic stitches, the knit stitch and the purl stitch. If you’ve never knit before or you need a refresher, check out my beginner knitting tutorials before getting started on this project!
- Basic Knitting Tutorial: Casting On & the Knit Stitch
- Basic Knitting Tutorial Pt. 2: The Purl Stitch & Binding Off
This post contains Amazon affiliate links. That means I may receive a small commission if you make a purchase using these links. You do not pay a higher price by clicking my links!
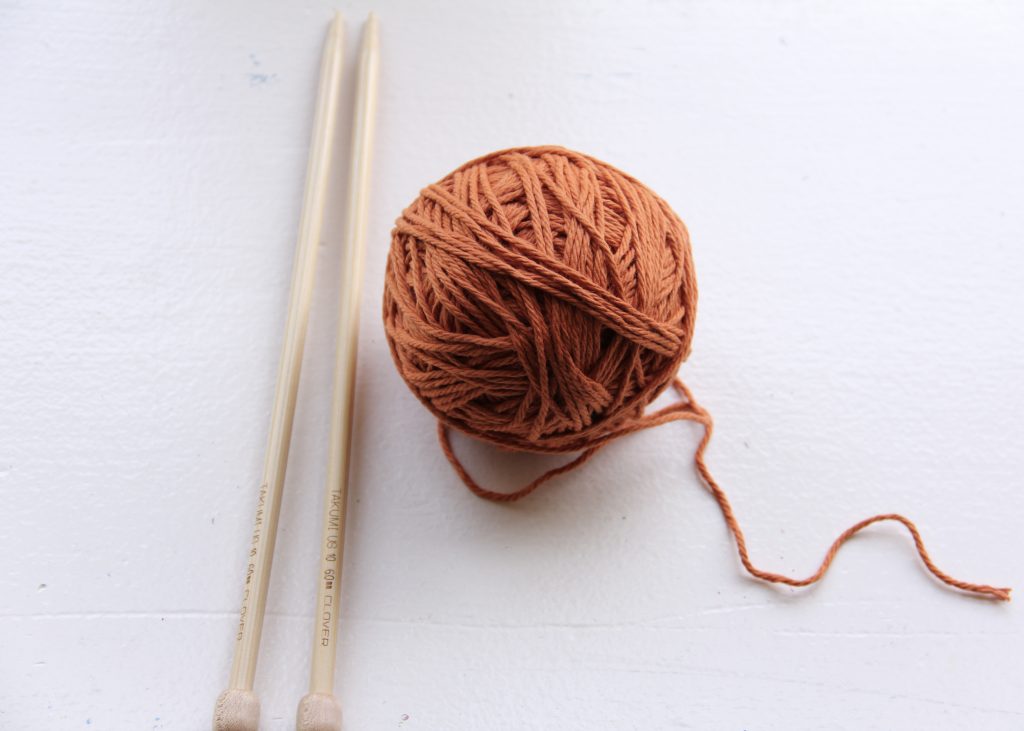
Supplies:
- No. 10 Knitting Needles ( I used my go-to Clover Takumi No. 10’s)
- Yarn for the pumpkin ( I used a ball of Hobby Lobby’s Crafter’s Secret brand cotton yarn in the color Papaya)
- Yarn Needle
- Some kind of stuffing material (I used cotton balls that I tore up a bit to be less lumpy:)
- Yarn for the stem (I used an old ball of Sugar N’ Cream Warm Brown)
- J-10 (6 mm) Crochet hook (I used this one)
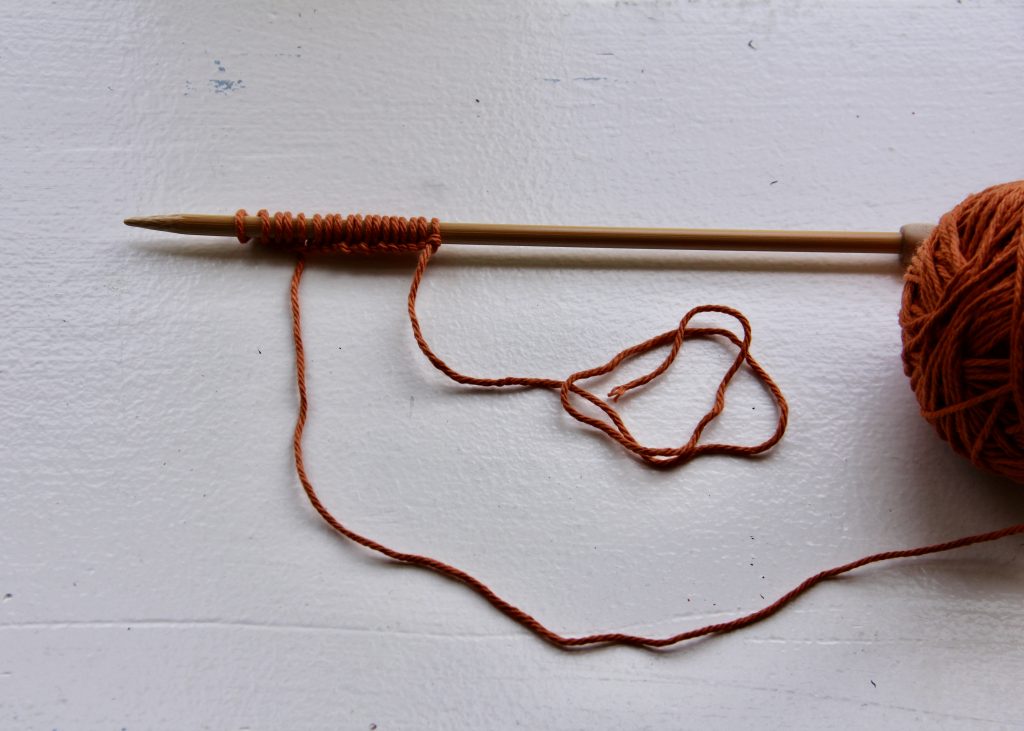
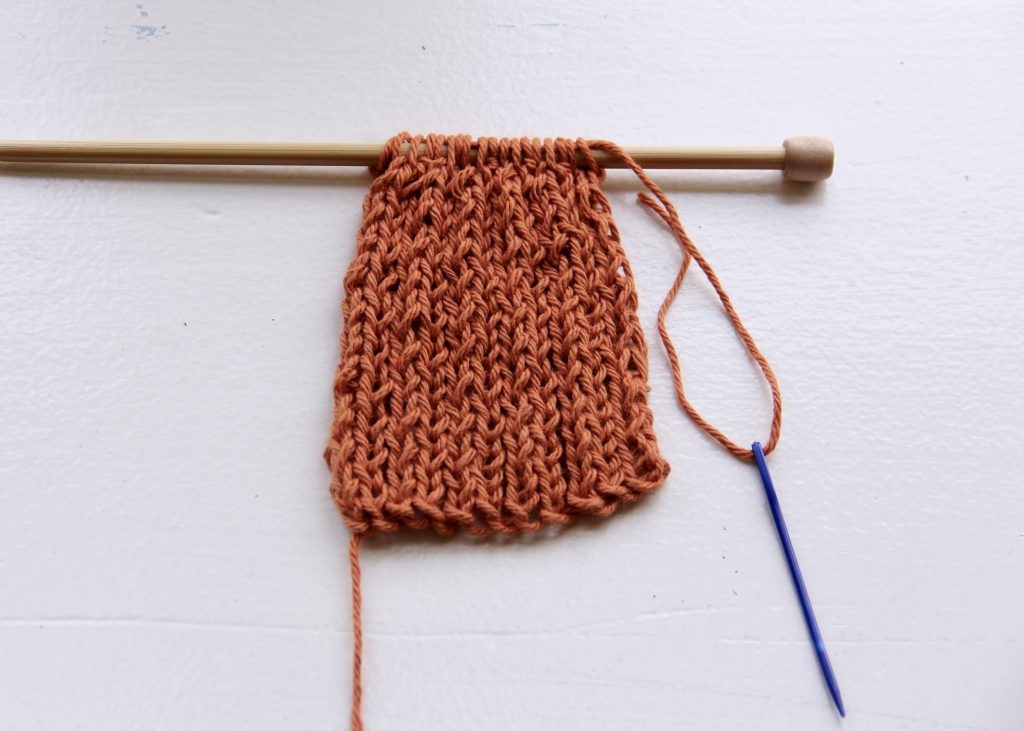
01. First, you’re going to cast on 18 stitches, leaving a 20 inch tail.

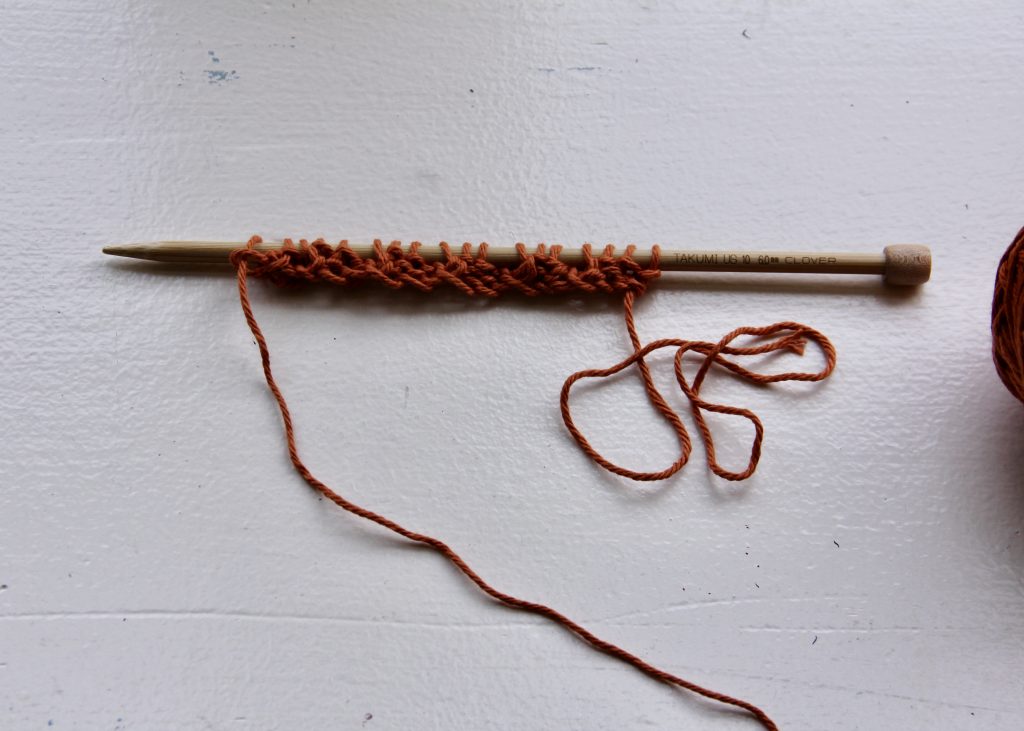
02. Next, you’re going to knit 2 stitches, then purl 1 stitch and repeat until the end of the row. This is what it will look like after that row is completed.
03. For your second row, knit 1 stitch, then purl 2 stitches. This is what it will look like after the second row is completed.
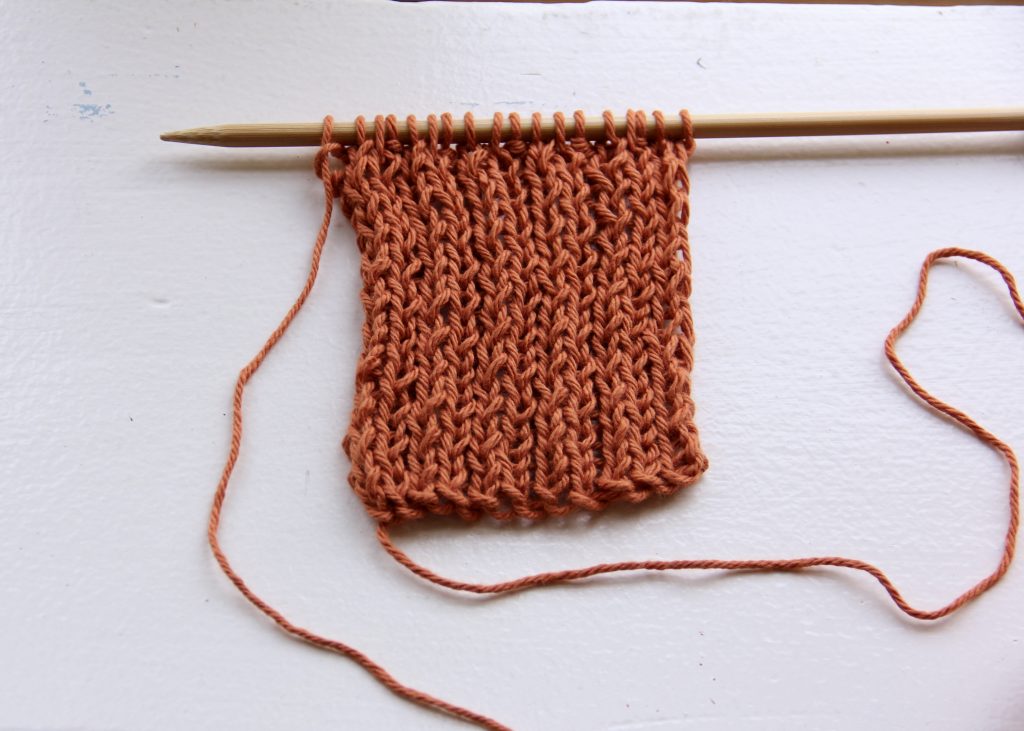
Repeat steps 02. and 03. until the piece measures 4 inches.
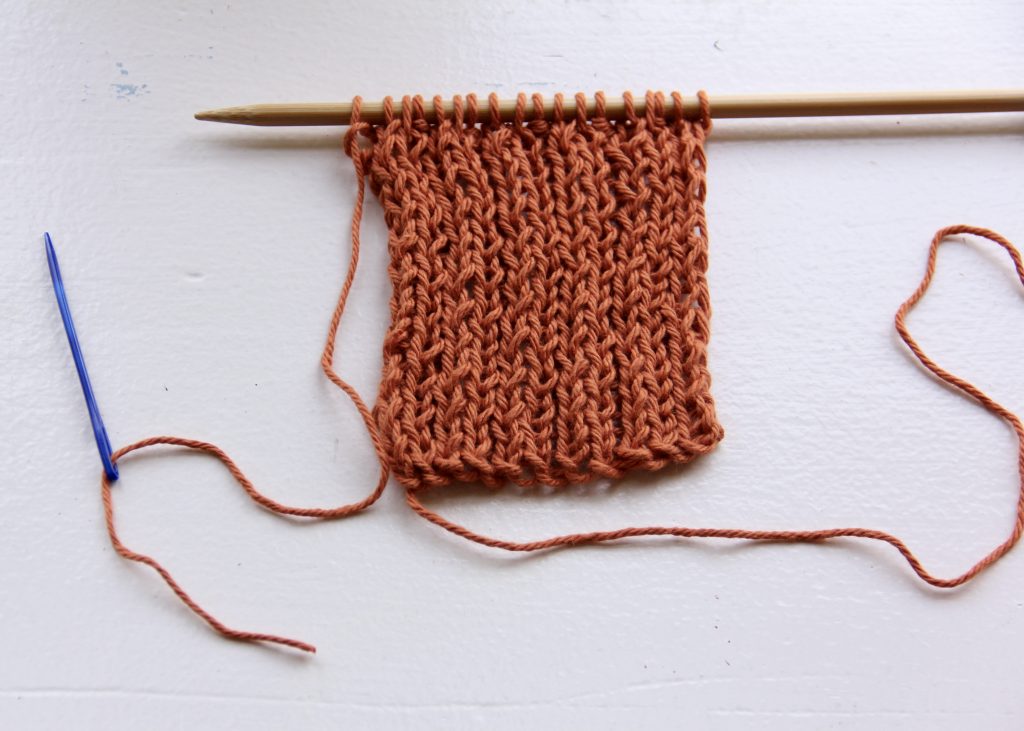
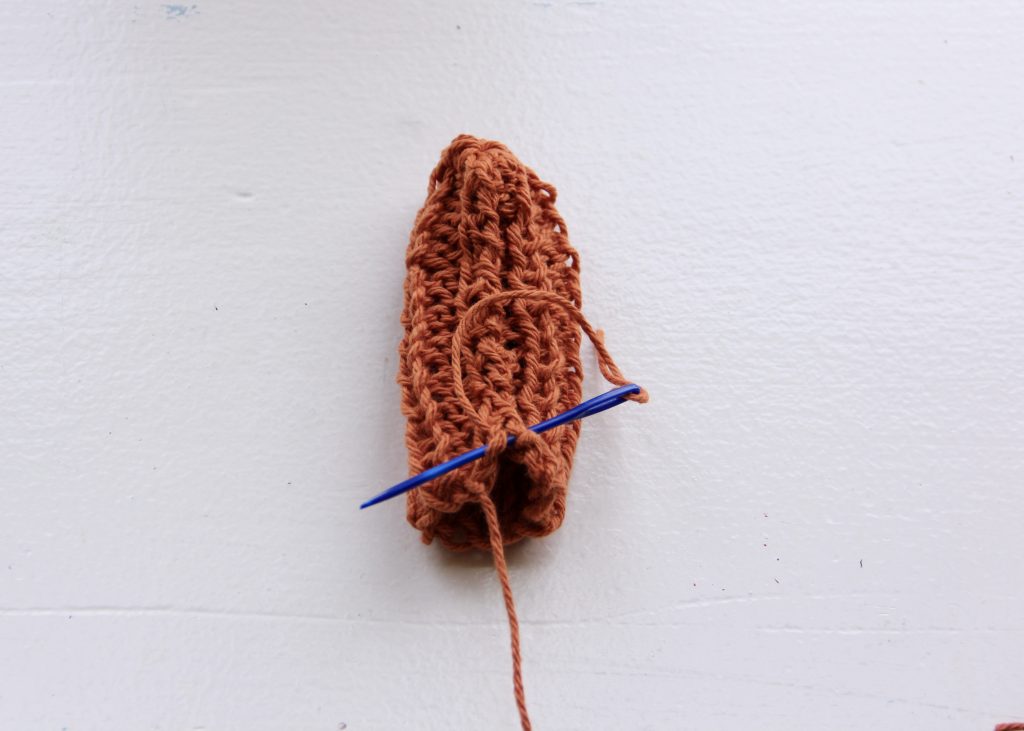
04. Now you’re going to cut the yarn from the ball leaving a short tail (about 5 inches) and thread that tail onto a yarn needle.

05. Thread the yarn needle through the row of stitches still on the knitting needle, and then slip those stitches off of the knitting needle.
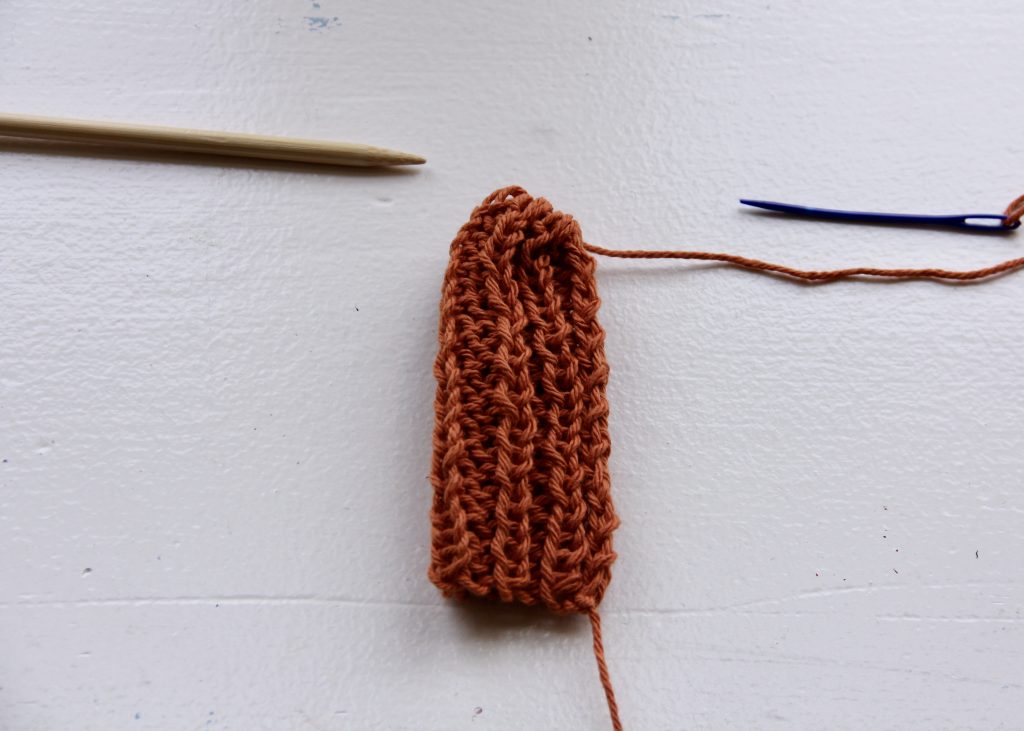
06. Pull the yarn tight to form the beginning of a tube shape, making sure that you’ve turned the piece so that the “wrong” side is on the outside of the tube.
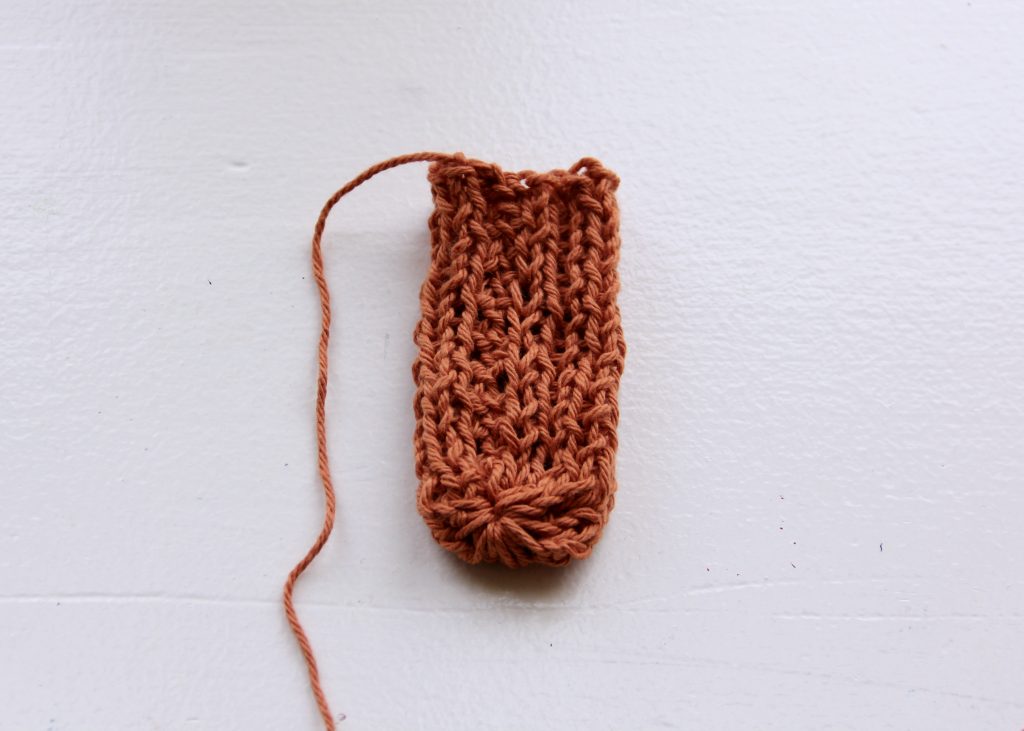
07. Now start sewing up the side of the tube.

When you’re done, it should look like this.
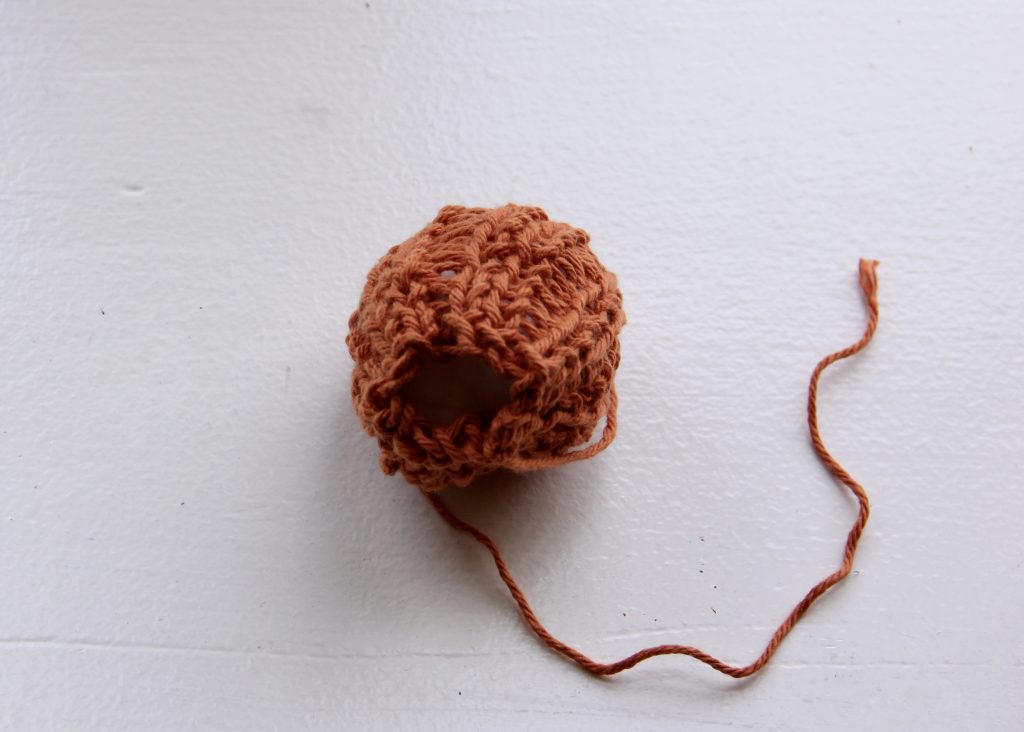
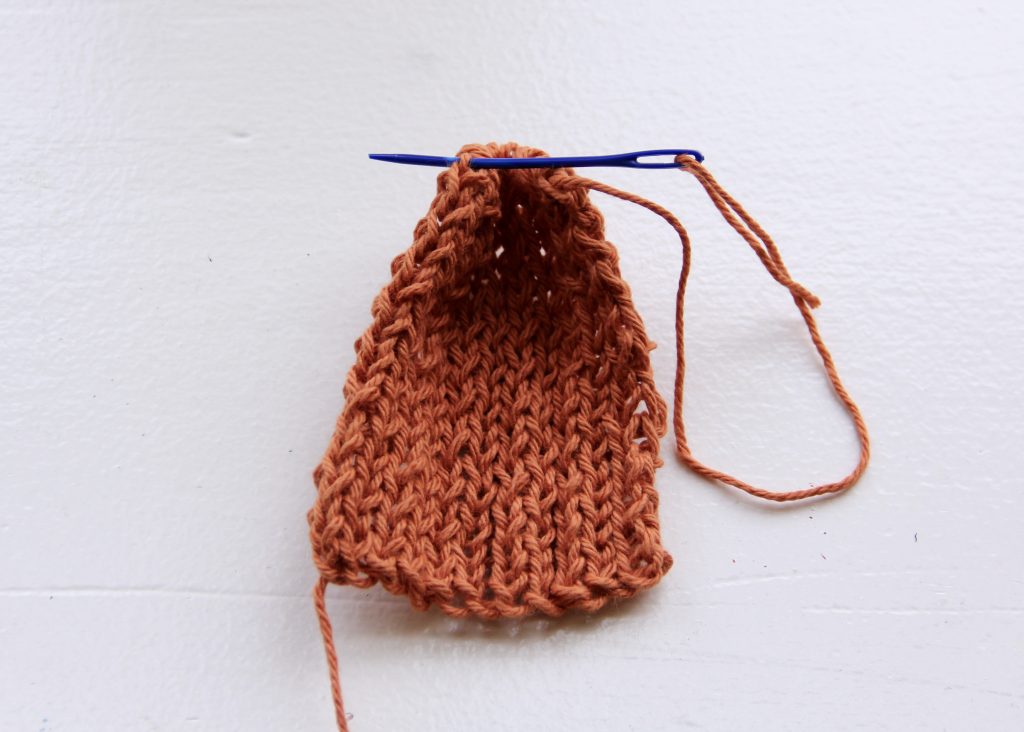
08. Carefully turn the tube “right side” out and fill with just enough stuffing material to almost fill up the tube. You don’t want to overfill because that will make it difficult to sew up later.
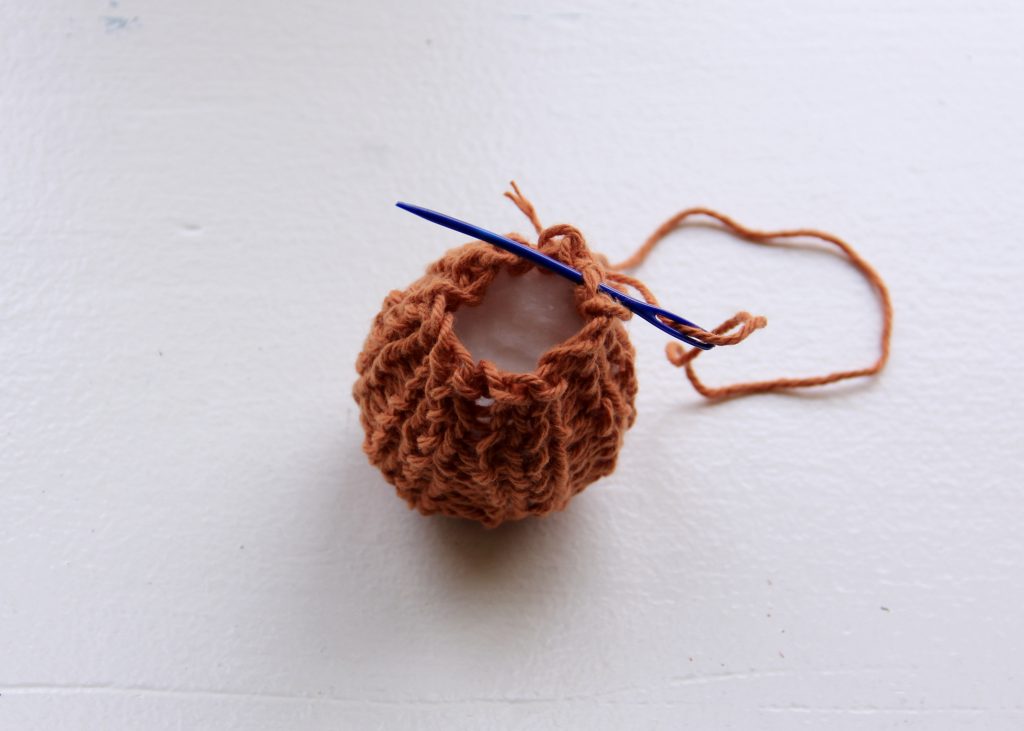
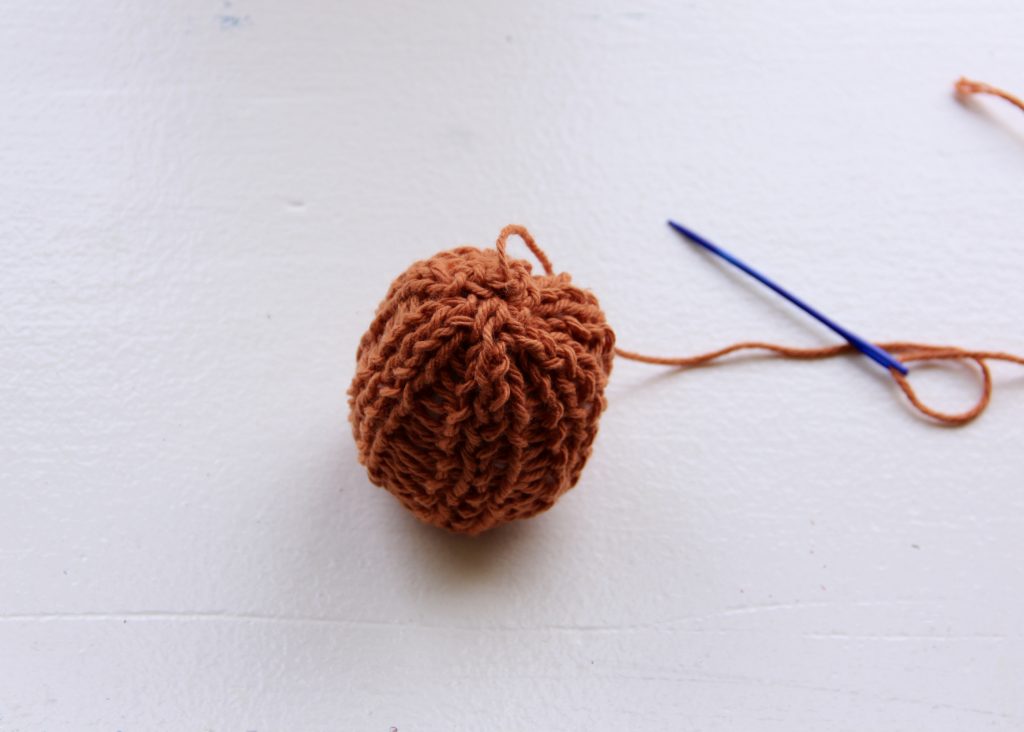
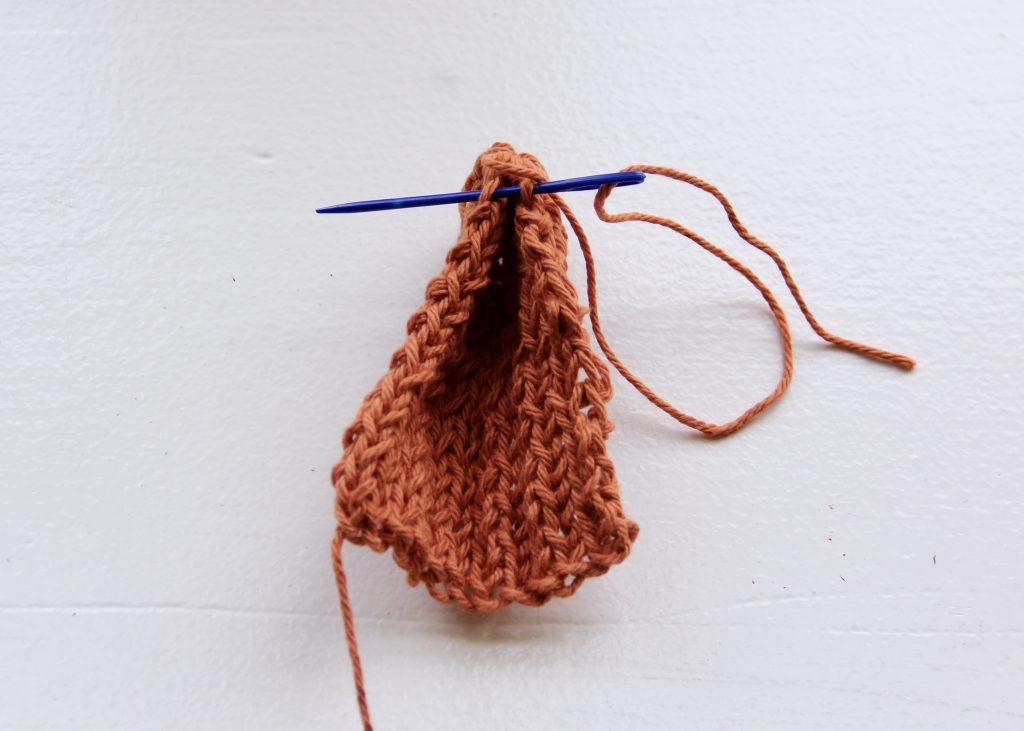
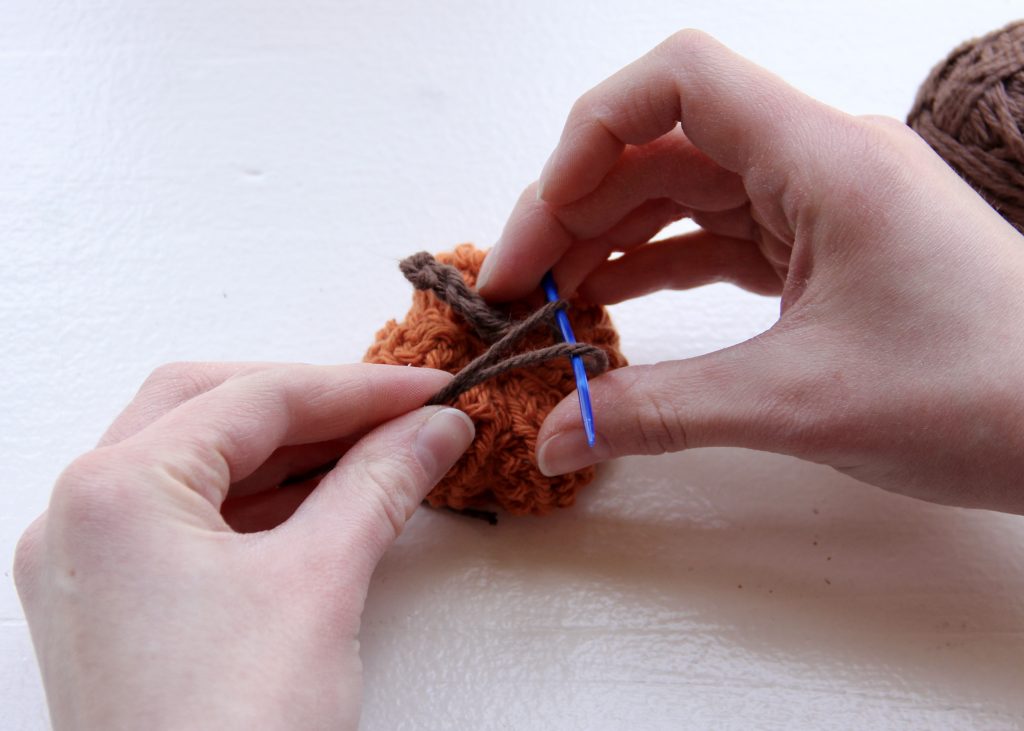
09. Thread the 20 inch tail that you left at the beginning of the project onto the yarn needle. Next, thread the needle around the top of the tube and pull to close it up.
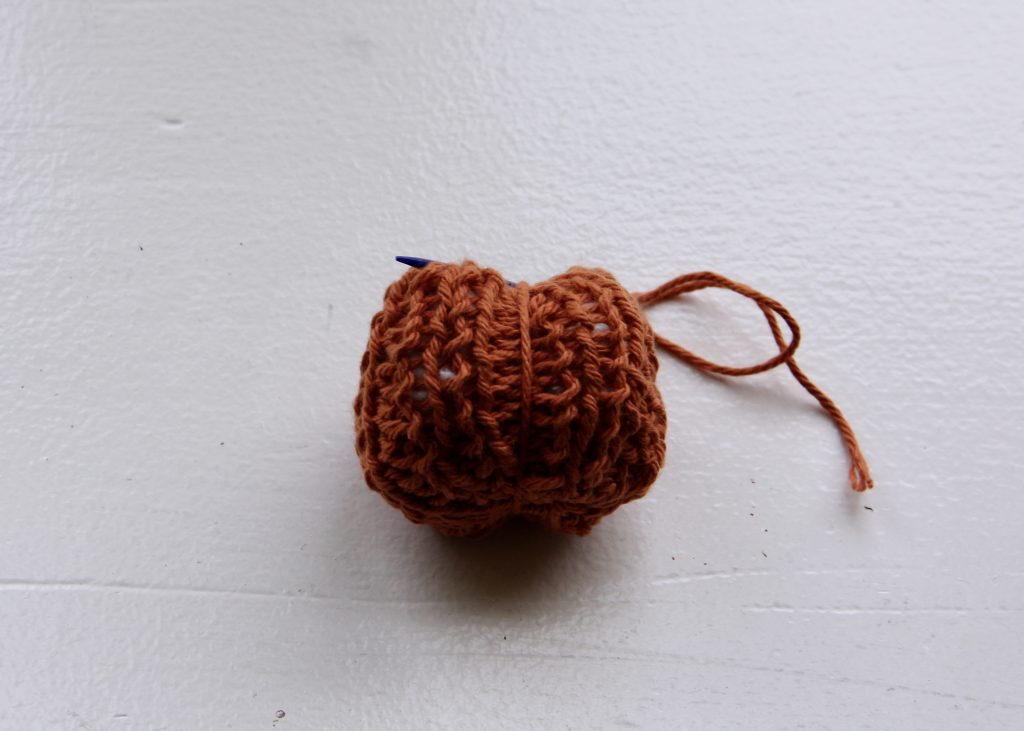
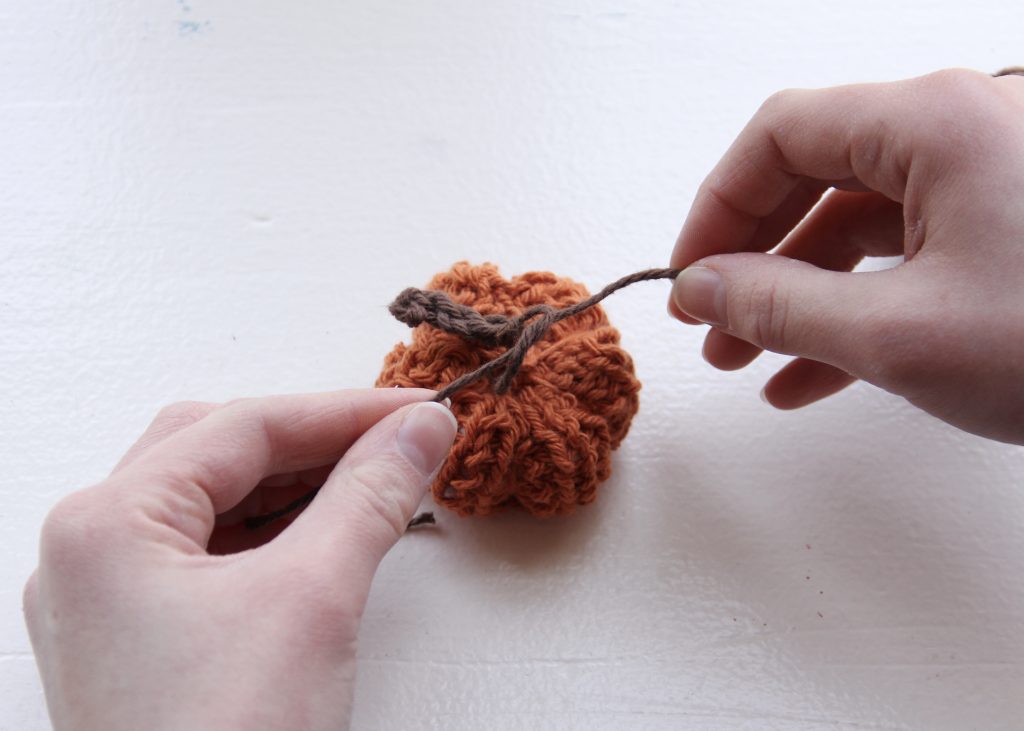
10. Now take the tail and wrap it around the entire pumpkin from top to bottom and back to the top, making sure that the yarn is fitting into the “grooves” formed by the purl stitches (as seen above). This is what makes the shape of the pumpkin.
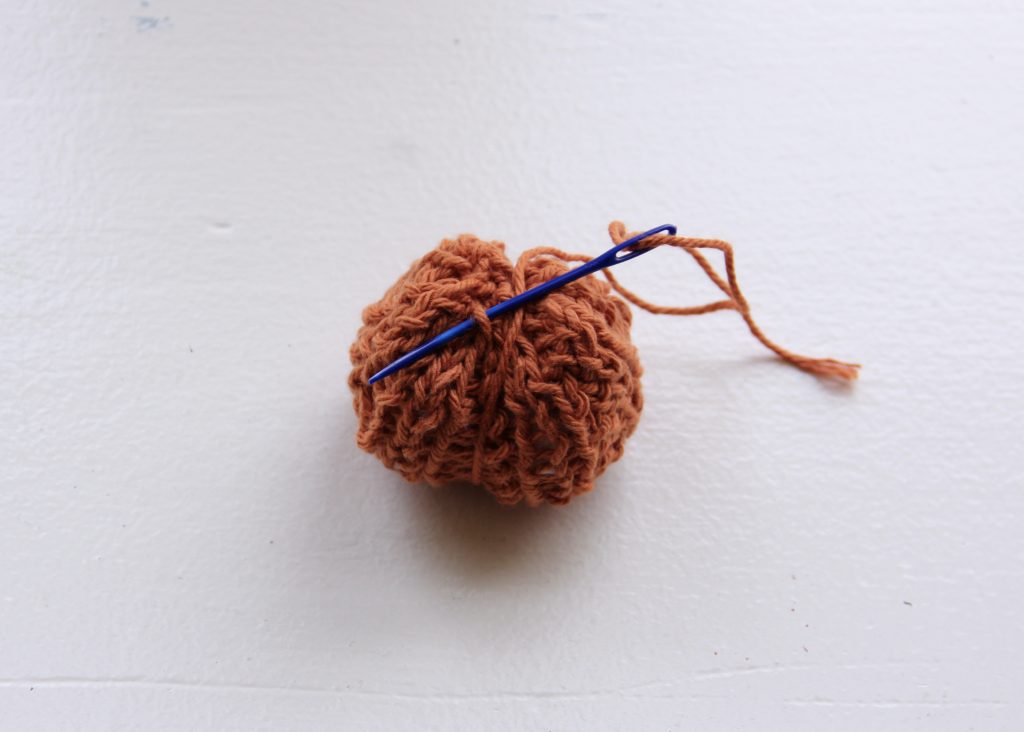
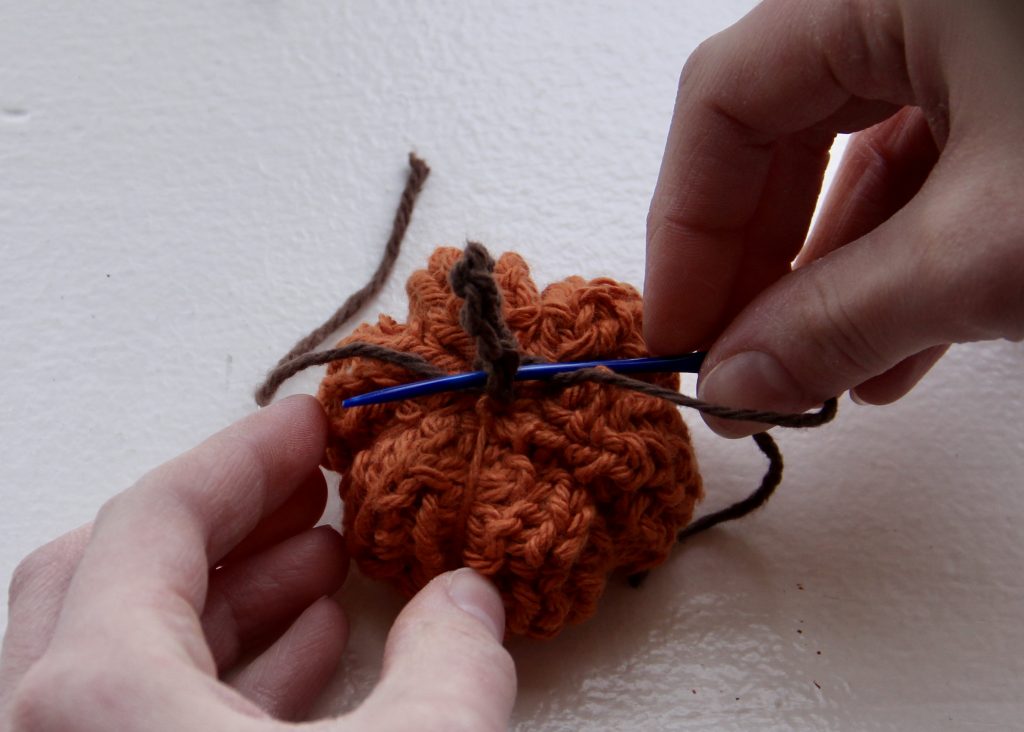
11. At the top of the pumpkin, thread the yarn needle under a stitch or two to keep your first wrap-around from unravelling. Then turn the pumpkin slightly and repeat the wrap-around process in another purl stitch “groove”.
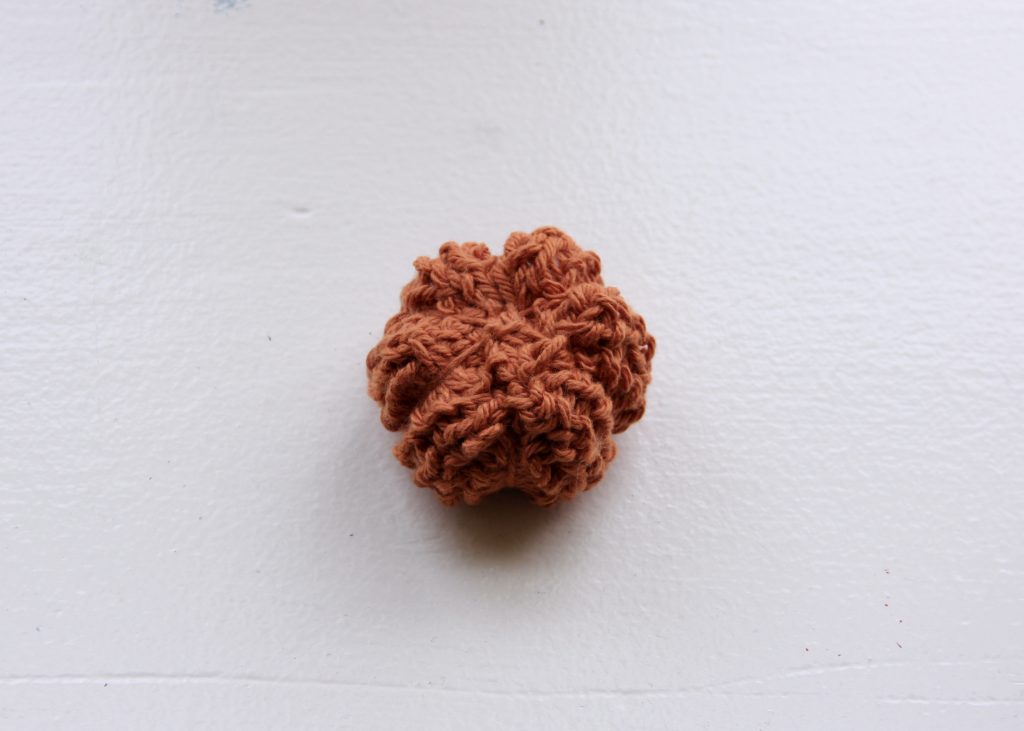
Repeat steps 10. and 11. until you have six “sections” around the pumpkin. You’ll know when it looks right! Next, take the last little bit of the yarn tail and tie it in a couple of knots on top of the pumpkin and sew in any loose ends.
Now you’re ready to make the stem!
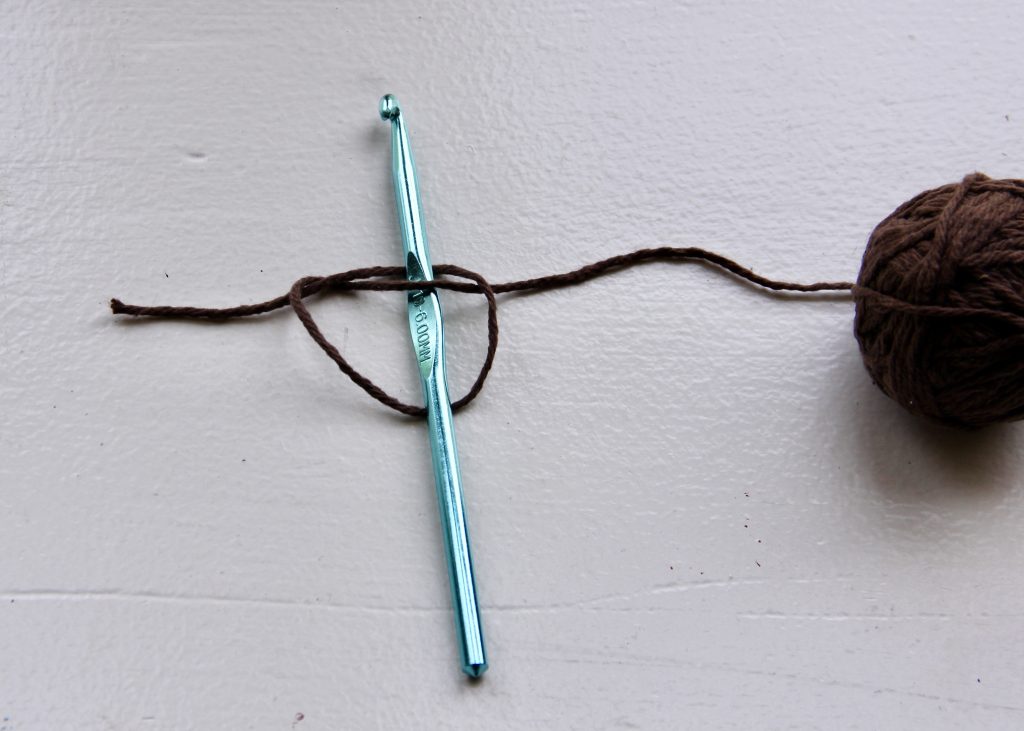
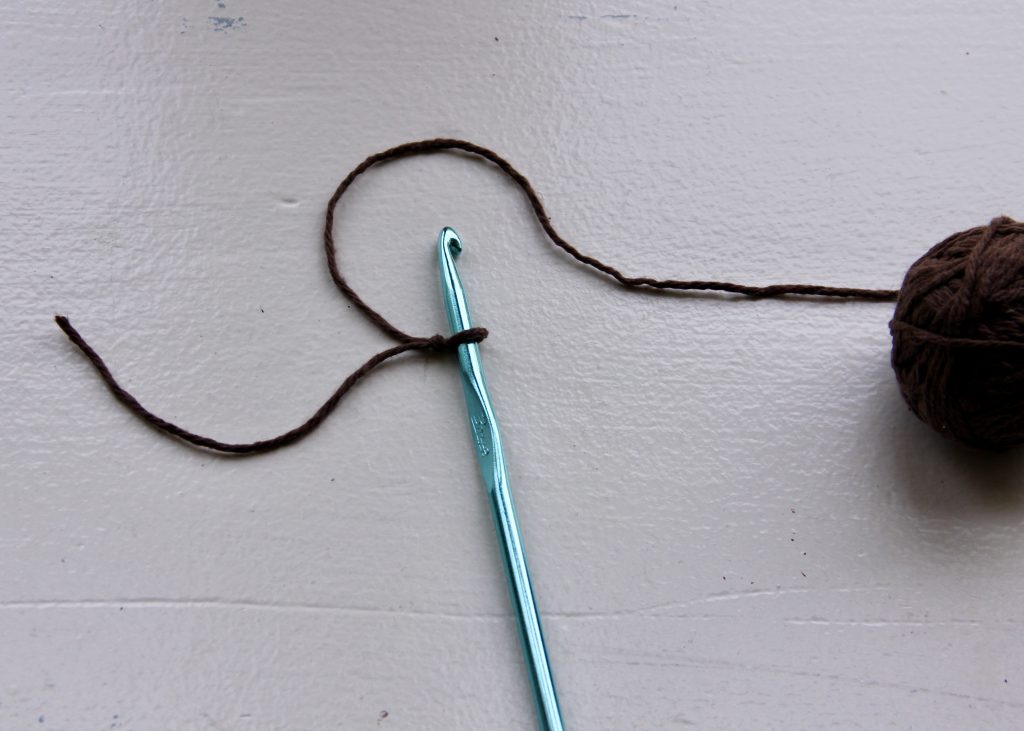
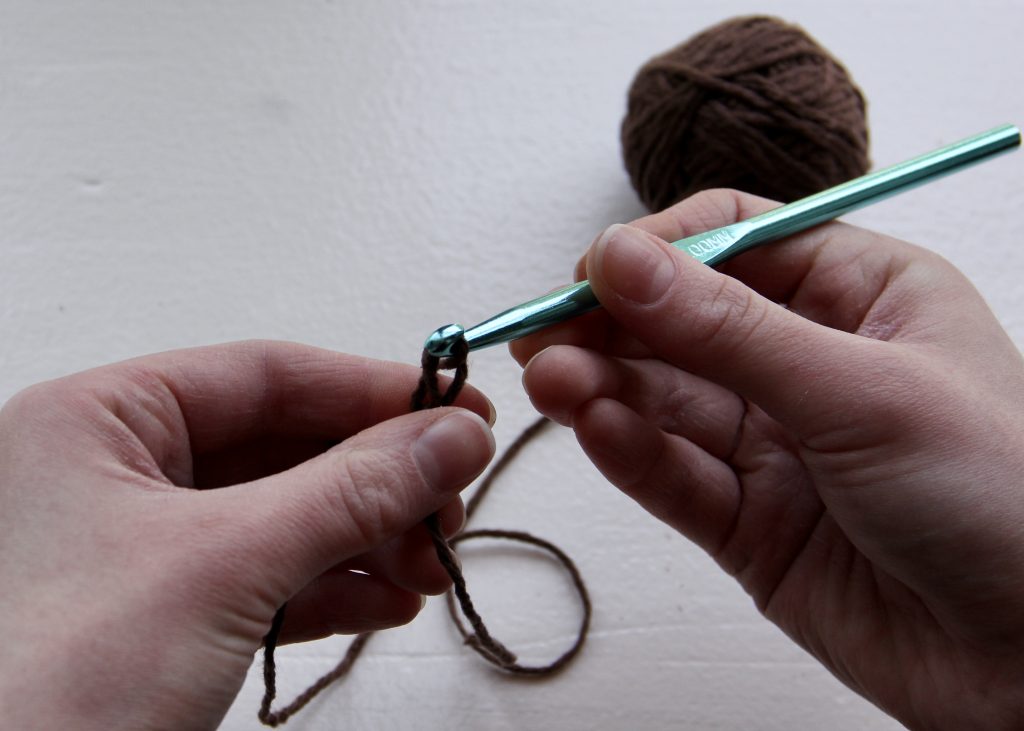
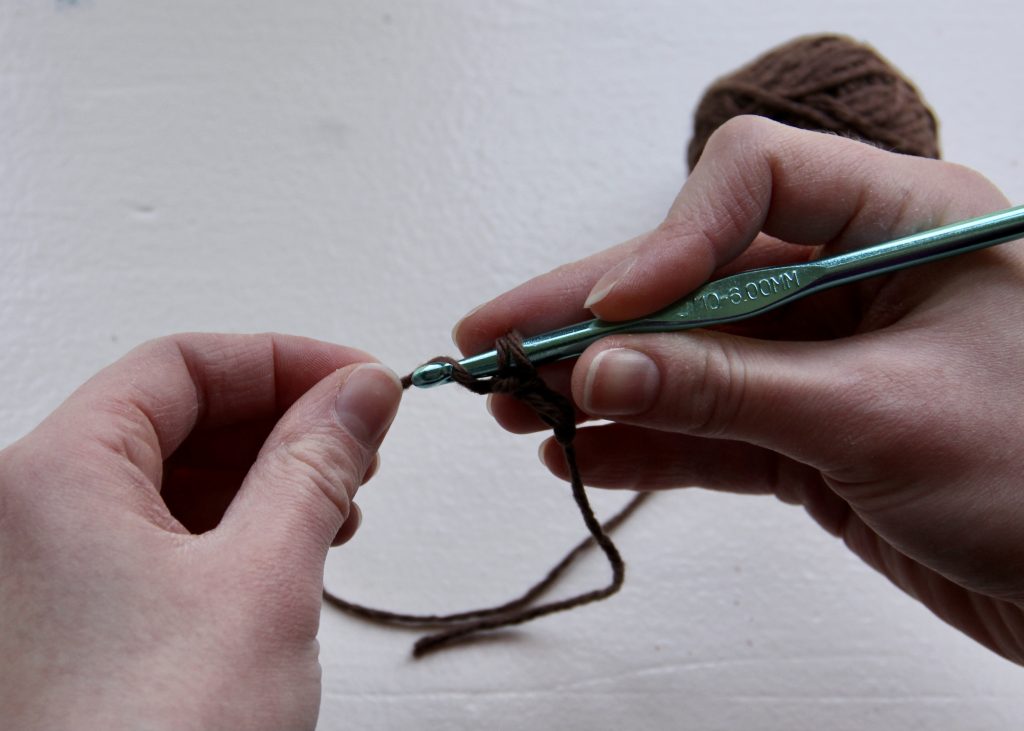
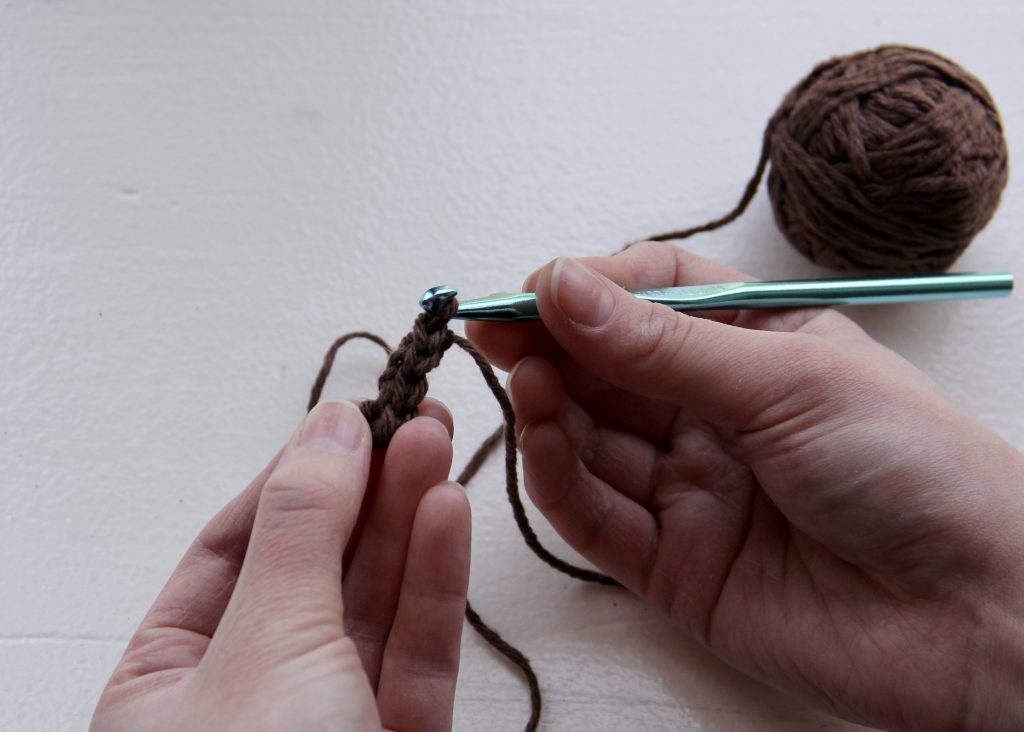
01. Take your crochet hook and brown yarn, and tie the same kind of knot that you would if you were casting on for knitting.
02. Now take the crochet hook in your right hand and the yarn from the ball in your left.
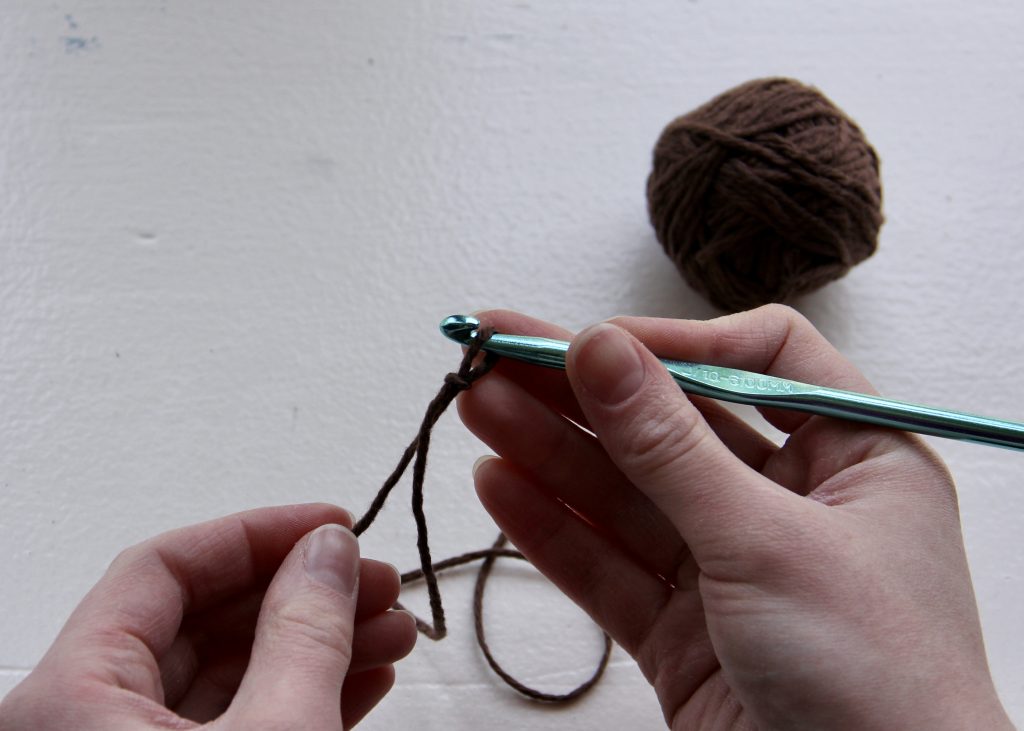
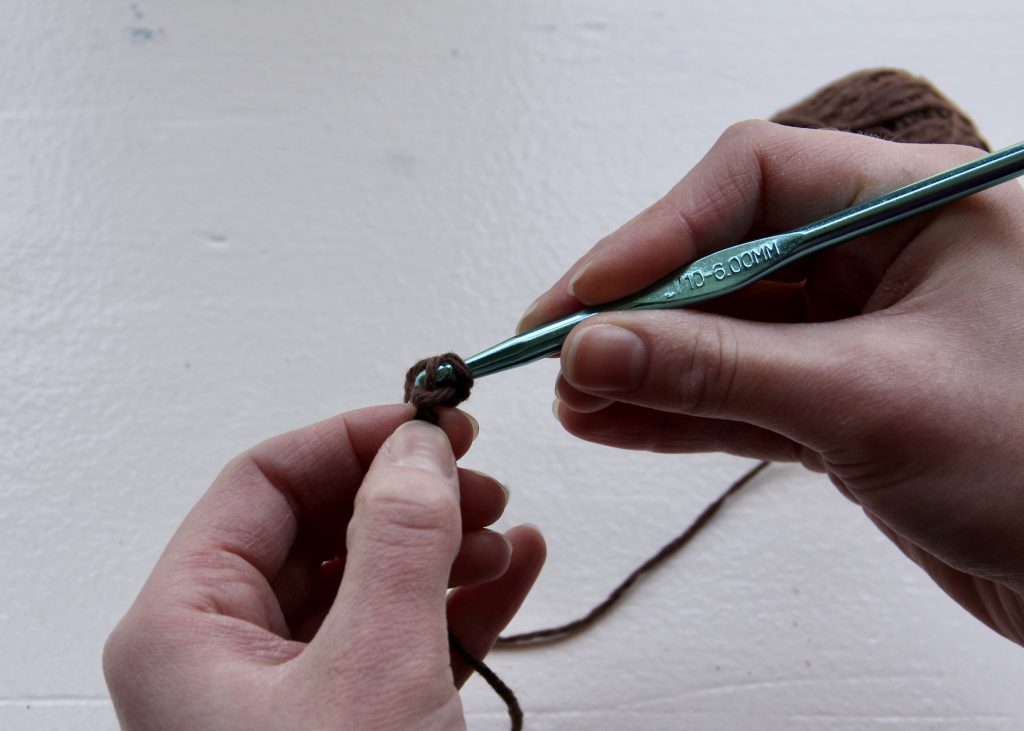
03. Grab a loop of yarn with your crochet hook and pull it through the first loop on the crochet hook.
Repeat step 03.
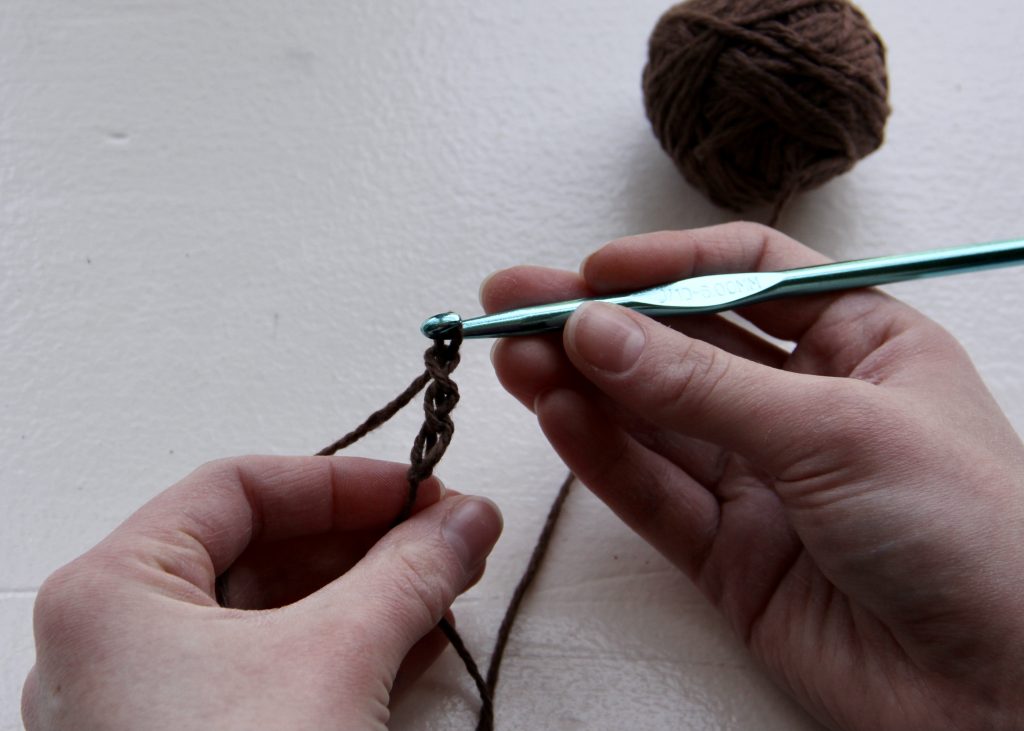
You have now chained 3 stitches.
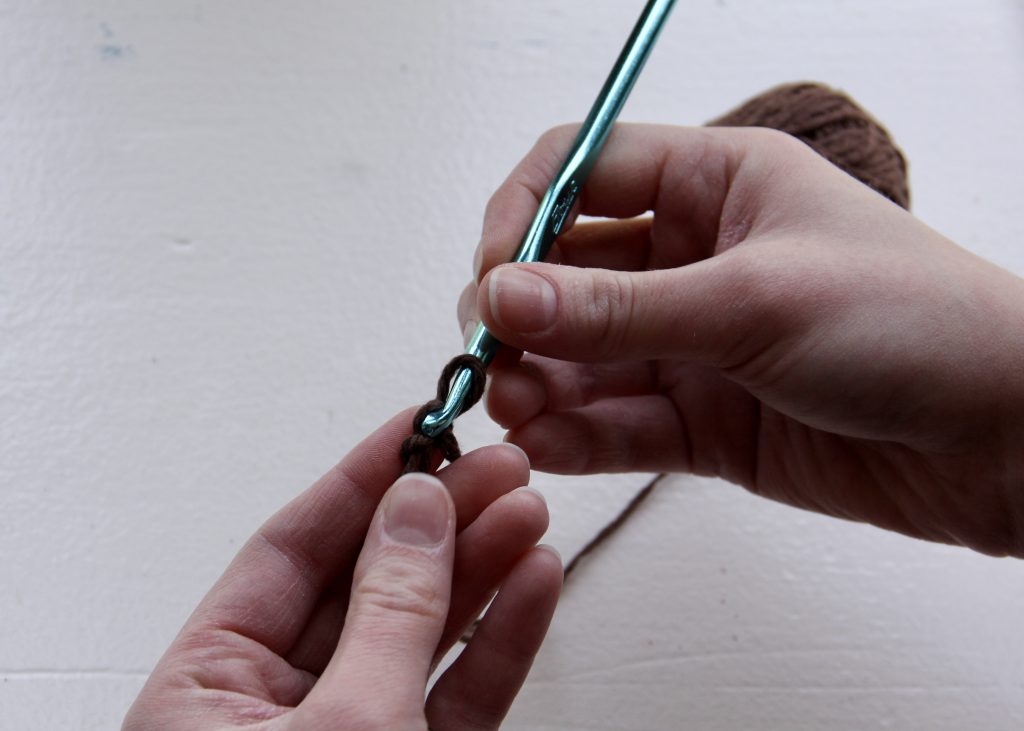
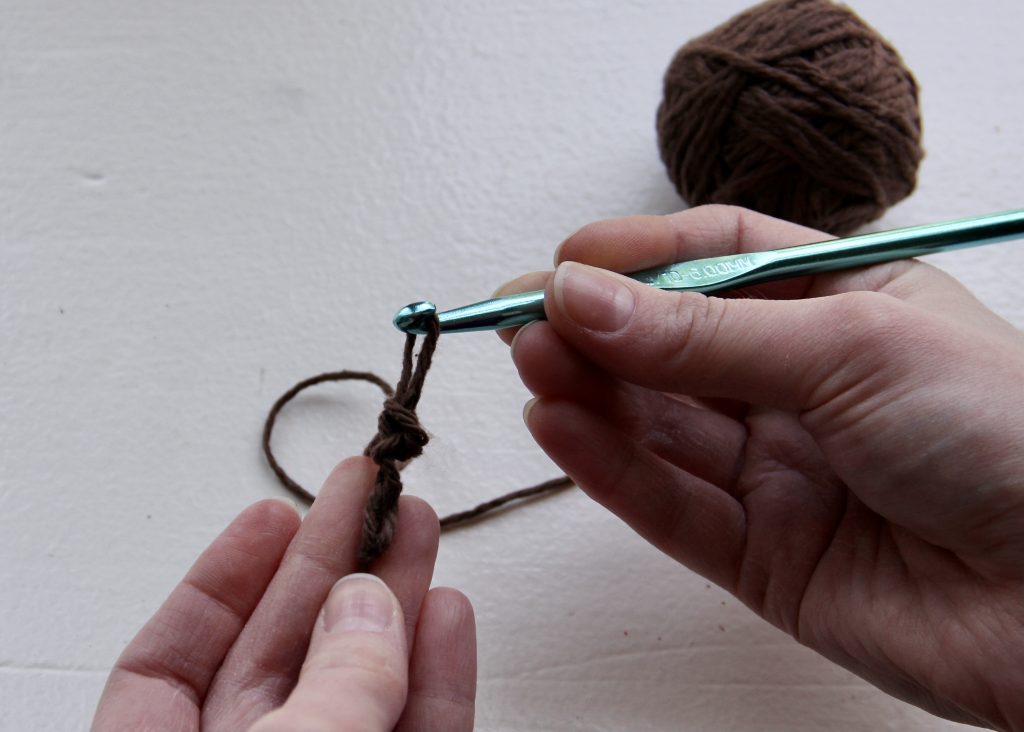
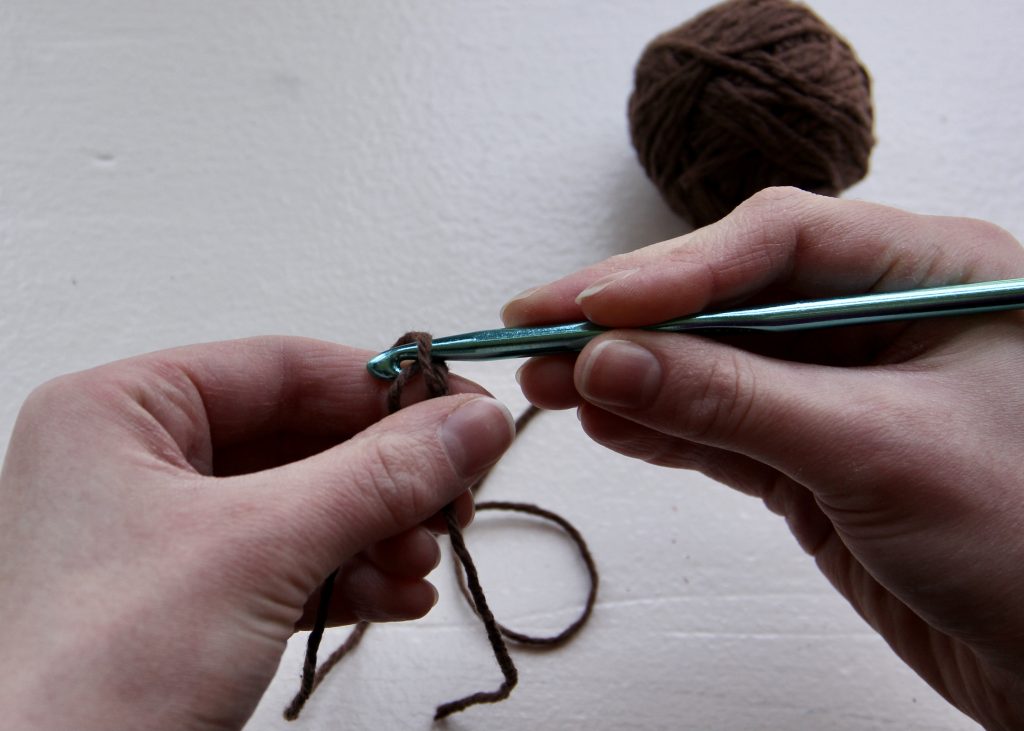
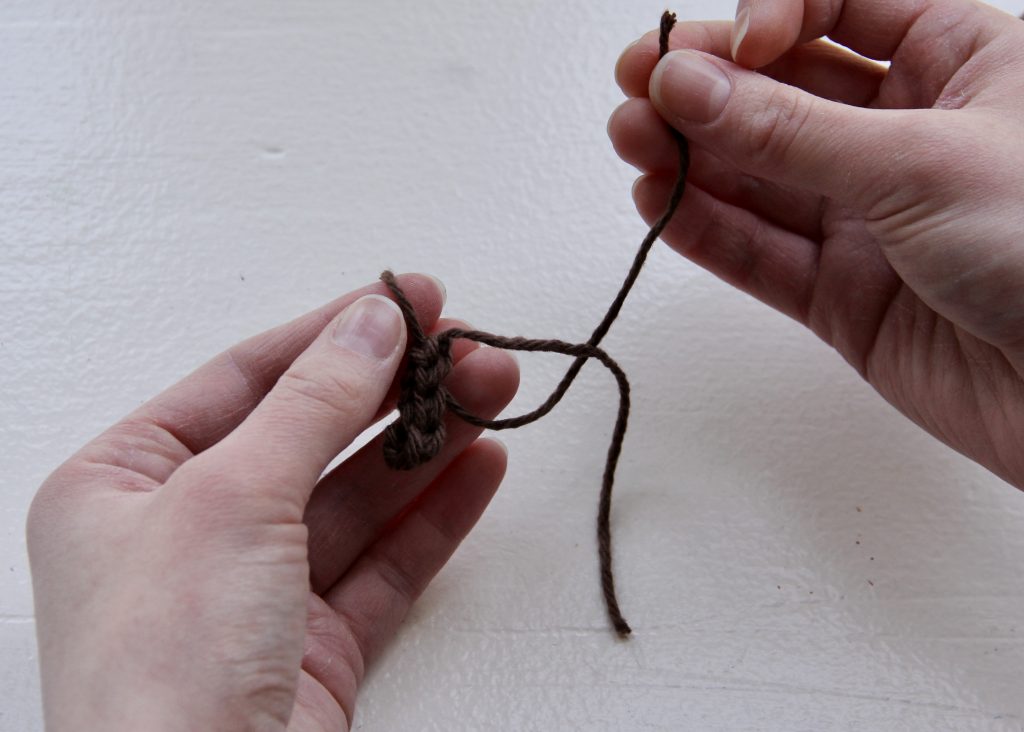
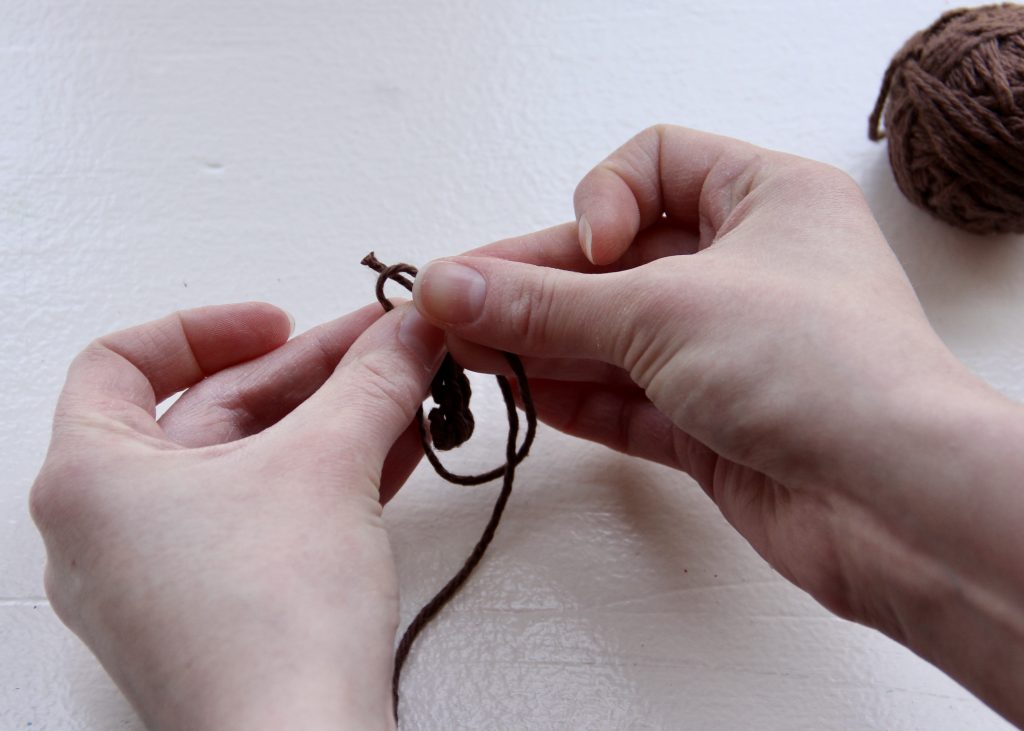
04. Insert your crochet hook into the last stitch you chained, grab a loop of yarn and pull it through both stitches. Slip the two stitches off the hook, keeping the stitch that you just chained on the hook. This is called single crochet.
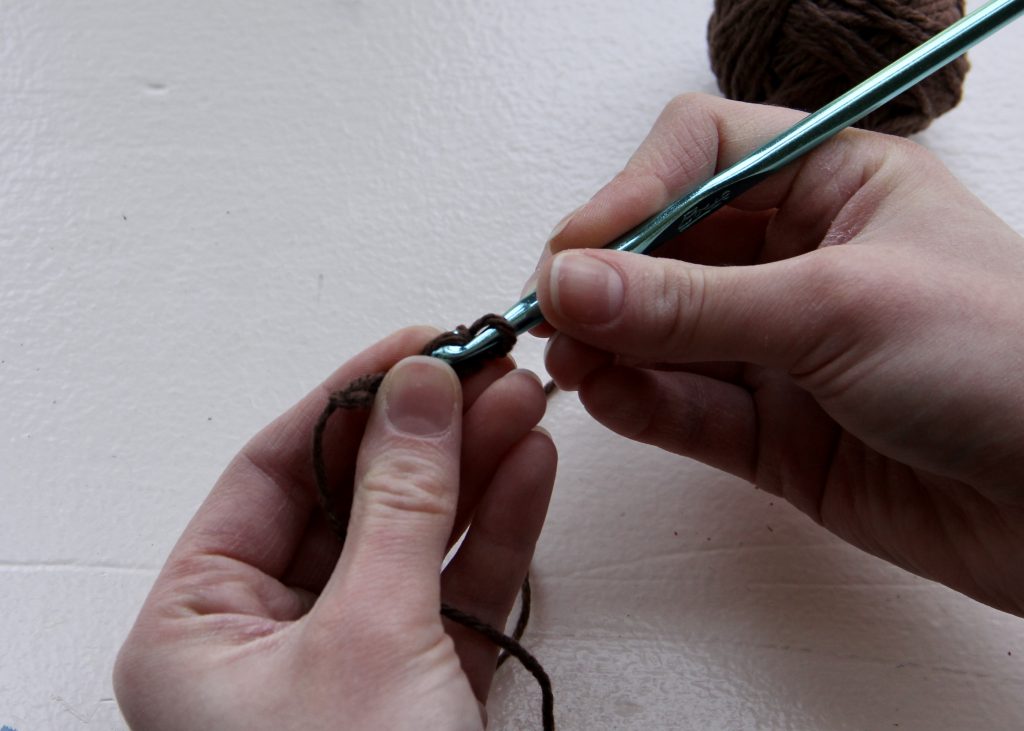
Repeat step 04., this time with the next closest stitch, and then the next. The second picture shows what it should look like after you’ve single crocheted all three stitches.
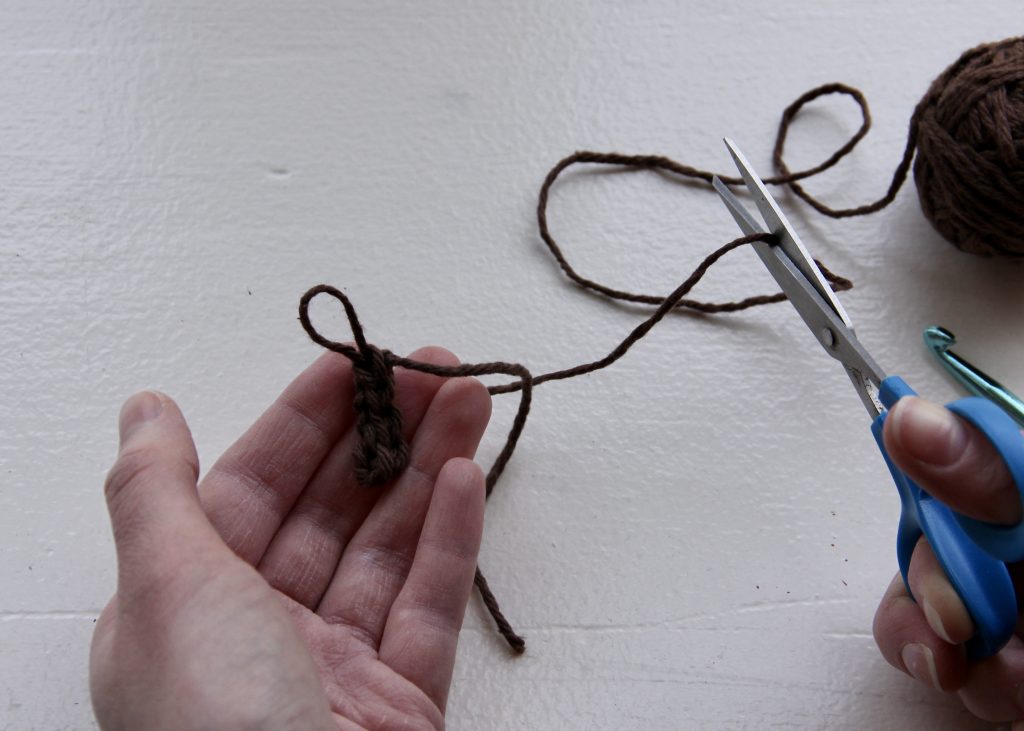
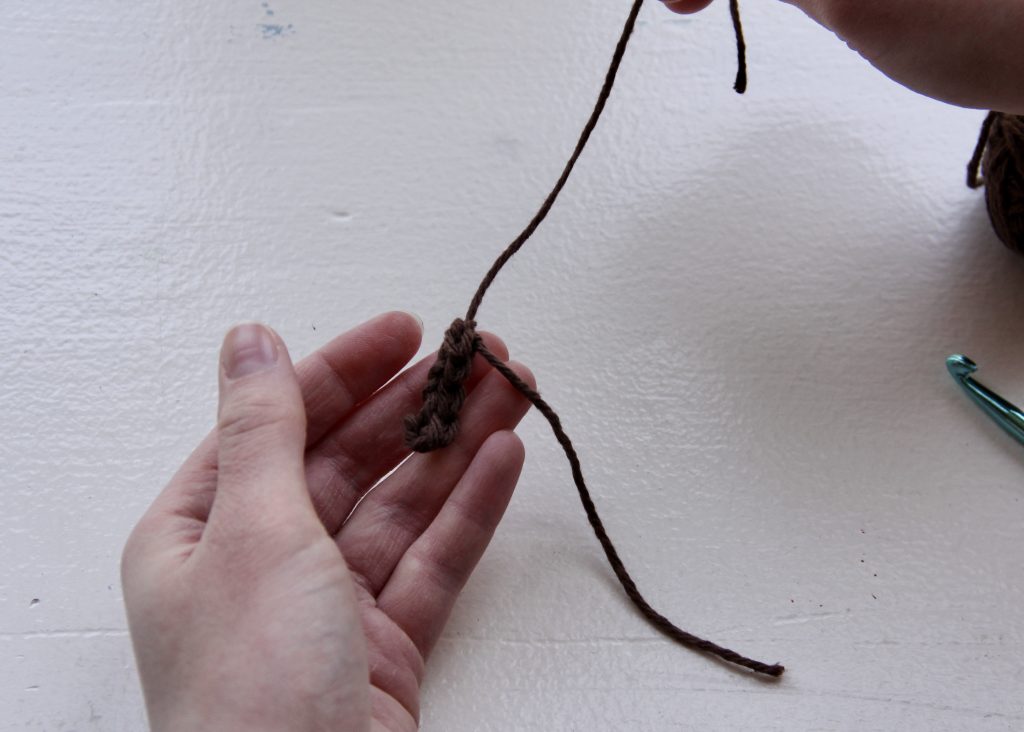
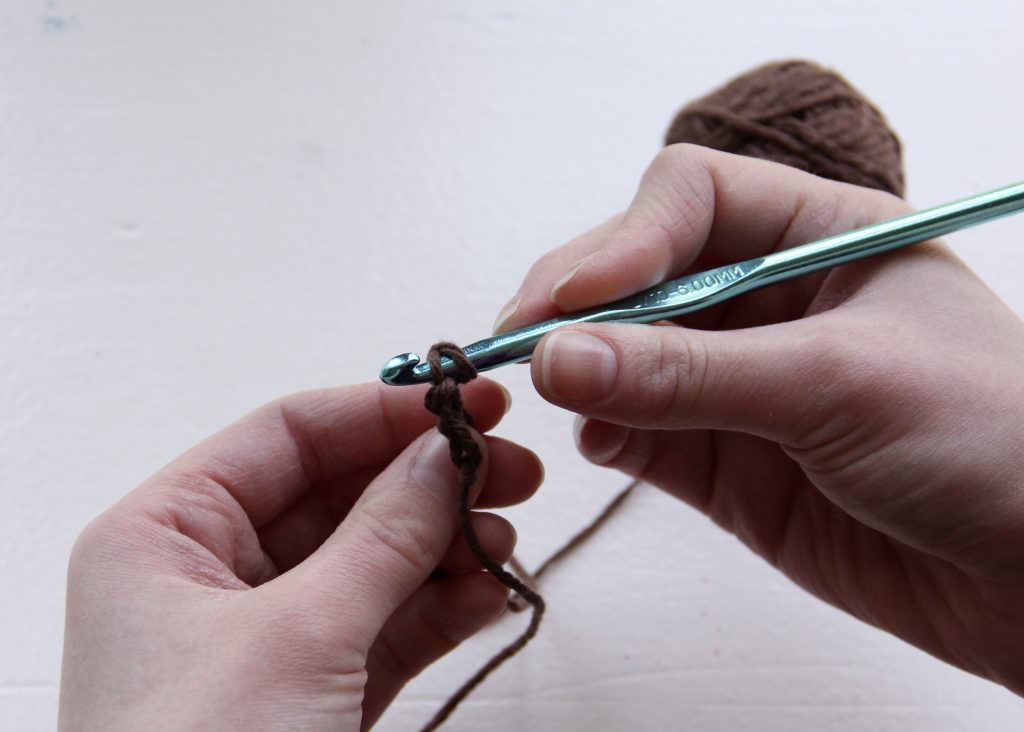
05. Slip the last stitch off the crochet hook, cut the yarn leaving a short tail (about 5 inches), and tie a knot to secure the end of the row.
Now it’s time to attach the stem to the pumpkin!
01. Thread the yarn tail onto your yarn needle and carefully sew the stem onto the center of the top of the pumpkin.
02. Make sure to tie up any loose ends and then cut the yarn as close to the pumpkin as you can (make sure you don’t cut the pumpkin!
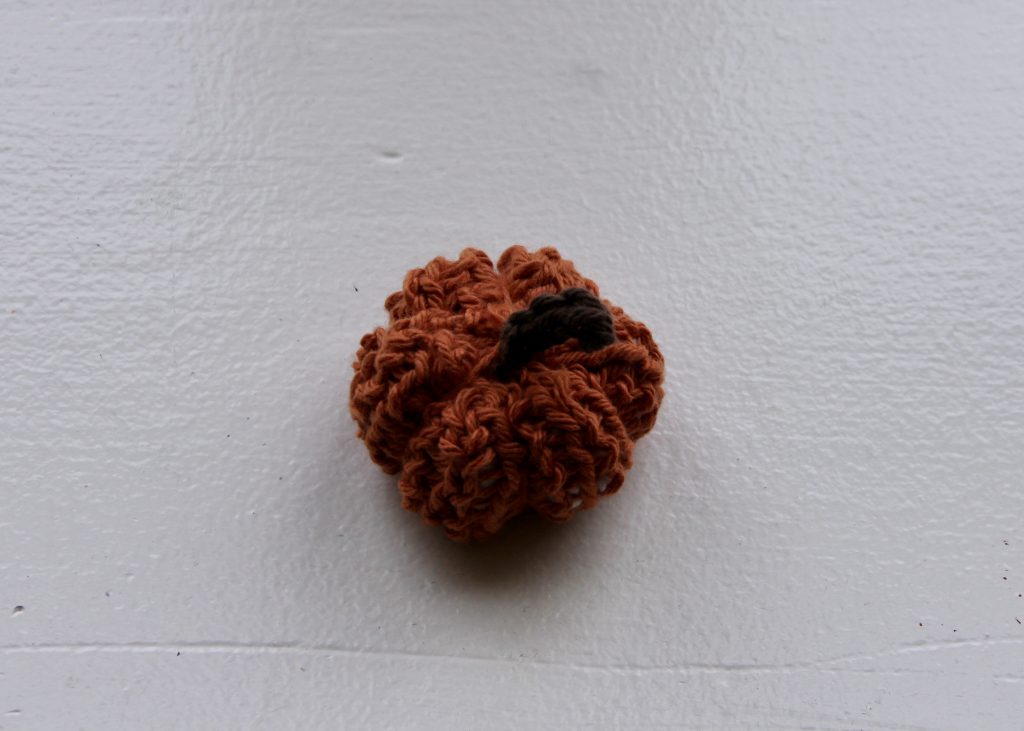
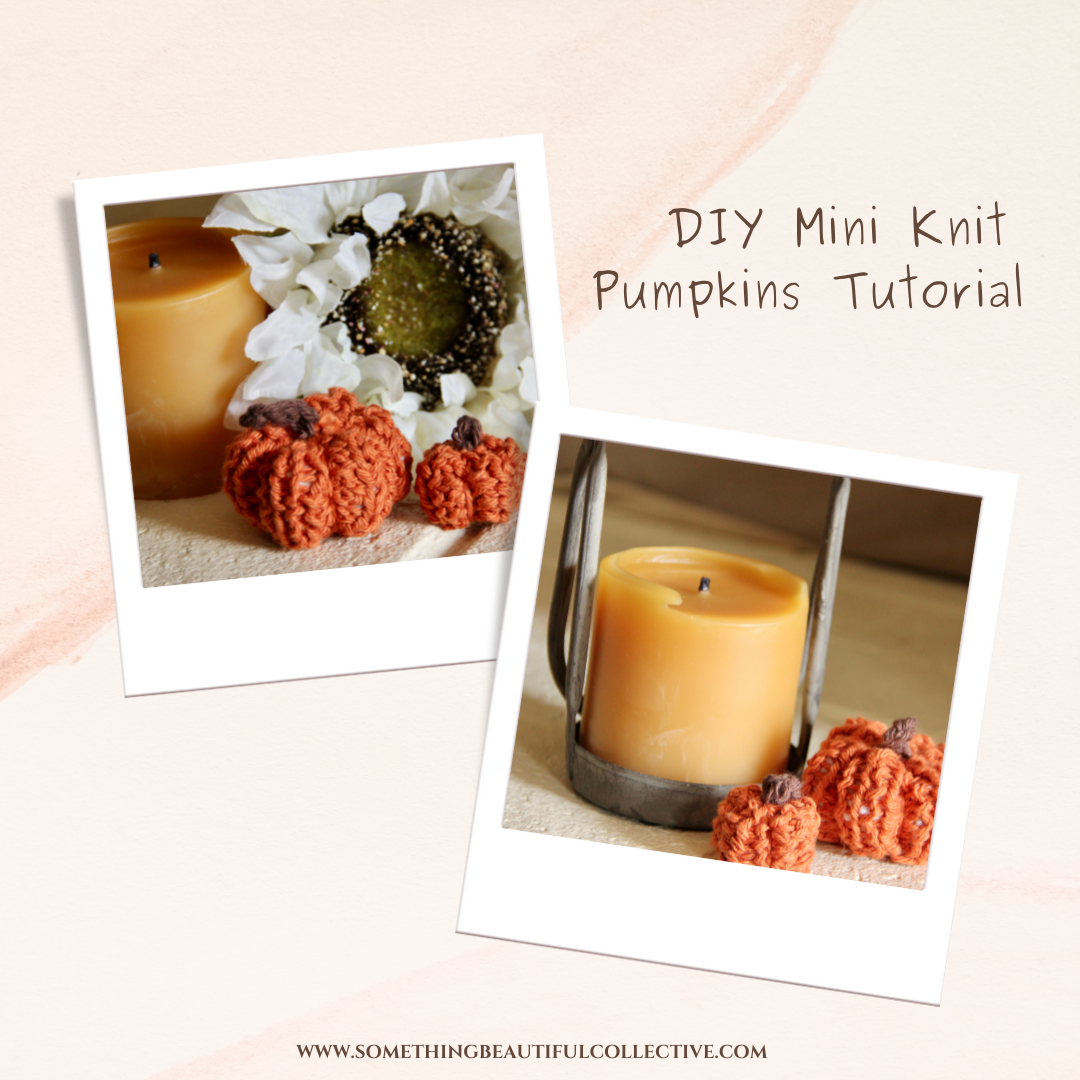
You now have an absolutely adorable little knit pumpkin!!
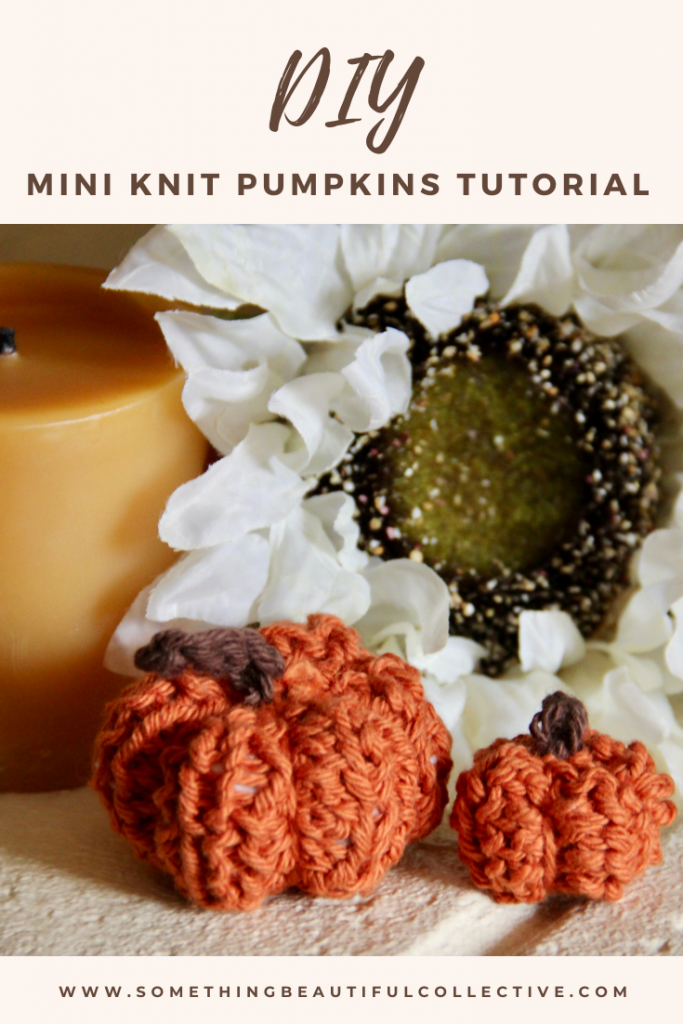
This pattern makes a medium size mini pumpkin. For a super tiny pumpkin, only cast on 10 stitches, leave a 10 inch tail, and follow the rest of the pattern the same as for the medium size. For a smaller stem, you would just chain two stitches instead of three, and follow the rest of that pattern the same as well.
These mini pumpkins make a great addition to any style of fall decor. You can place them on the mantle with some candles, in the middle of the dining room table as a centerpiece, on a shelf, or just about anywhere! They’re just so cute!
Happy Fall Y’all!